Showing posts with label breads. Show all posts

Tuesday, 27 March 2018

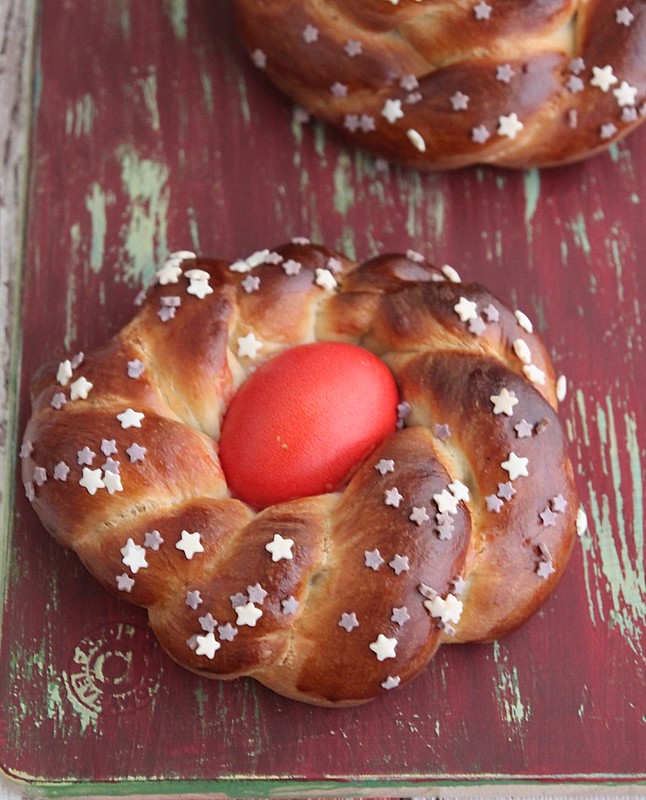
Italian Easter Bread

Makes 6
IMG_5822 
White bread flour- 390g, plus more if needed
Active dry yeast- 2 1/4 tsp 
Salt- a pinch
Granulated sugar- 95g 
Eggs- 2
Vanilla extract- 1/2 tsp (optional)
Butter- 80g, melted
Milk- 295ml 

To decorate
Eggs
Egg white, for egg wash
sprinkles
Red food colouring, or colour of your choice
IMG_5817
In the bowl of a free standing mixer throw in the flour, yeast, salt and sugar. Mix well
Melt the butter in the milk, either in a saucepan or in the microwave. Don't boil it, warm it just until the butter melts. If it's too hot, it will kill the yeast
Beat the egg into the flour mix followed by the vanilla and milk and butter mix. Give a stir to roughly mix it. Put on the dough hook and knead on medium for about 7 to 8 minutes
If you find that the dough is still wet, add some flour, bit by bit, till the dough starts pulling off the sides of the bowl
If you don't have a mixer, then follow all the steps and knead the dough by hand on a floured work surface until pliable and no longer sticky. This might take around 10 to 12 minutes
Transfer the dough into a greased bowl, loosely cover with a cloth or cling film and leave to prove for about 2 hours in a warm place or until it doubles in size. I usually keep it in an oven at about 20°C and it works
While the dough is proofing dye the eggs. Dilute the food colouring of your choice in warm water and gently place the egg in it. I used a brown egg, so lighter colours like pink and yellow wouldn't show, so I used red. Let the egg stay in the solution for at least an hour. The longer it sits, the stronger the colour.
IMG_5862
Once the dough has doubled in size, punch it down lightly and transfer on to a lightly floured surface. Knead for 2 minutes and divide the dough into 12 pieces
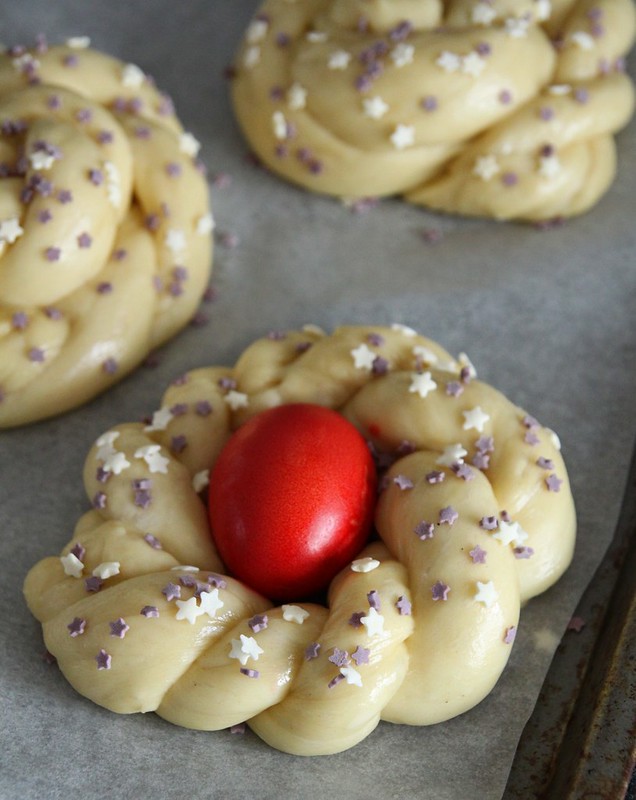
Roll each piece to form a rope around 1 inch in thickness and pair them up in two. Pinch the edges and twist them to form a braid of sorts and bring both the ends together to form a circle
Transfer to a baking tray lined with baking paper and place the dyed egg into the centre of the circle. Keep aside to proof for another hour or so. When ready to bake, do an egg wash on the braided dough and spread the sprinkles on top
Preheat the oven to 180°C/gas mark 4
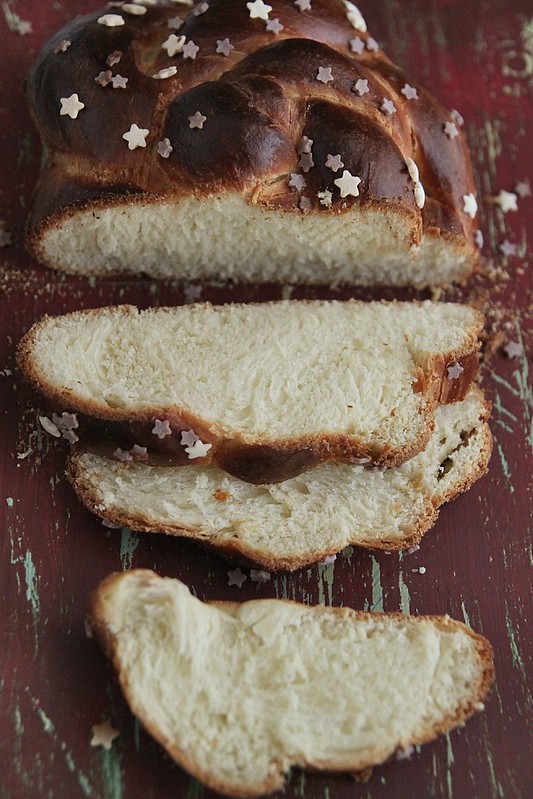
Bake in the oven for about 22 minutes or until the bread is golden in colour. Cool on racks before slicing.

Wednesday, 5 April 2017

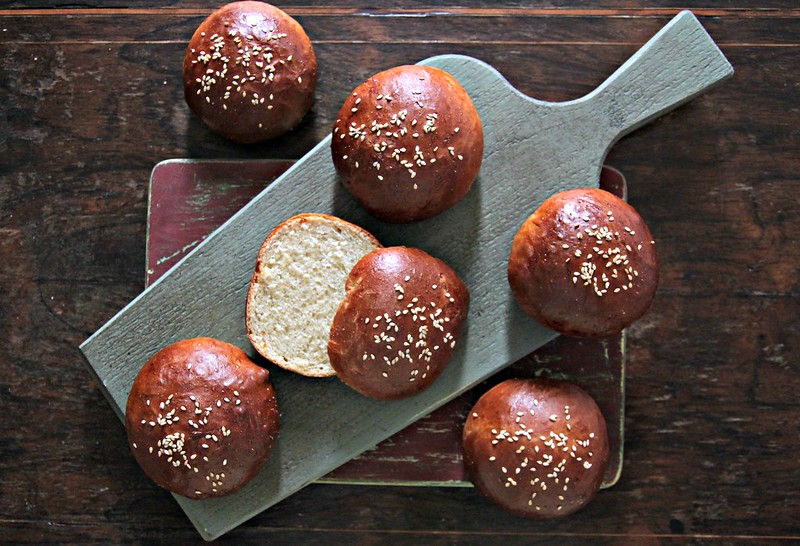
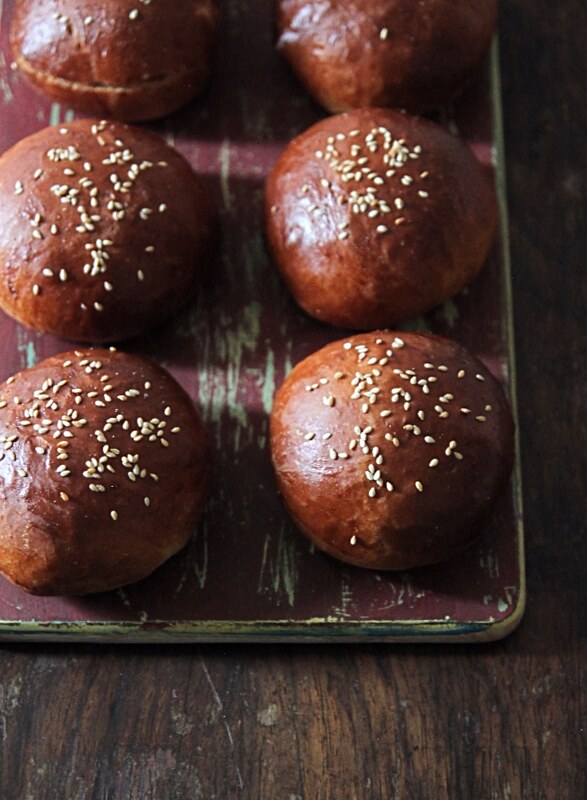
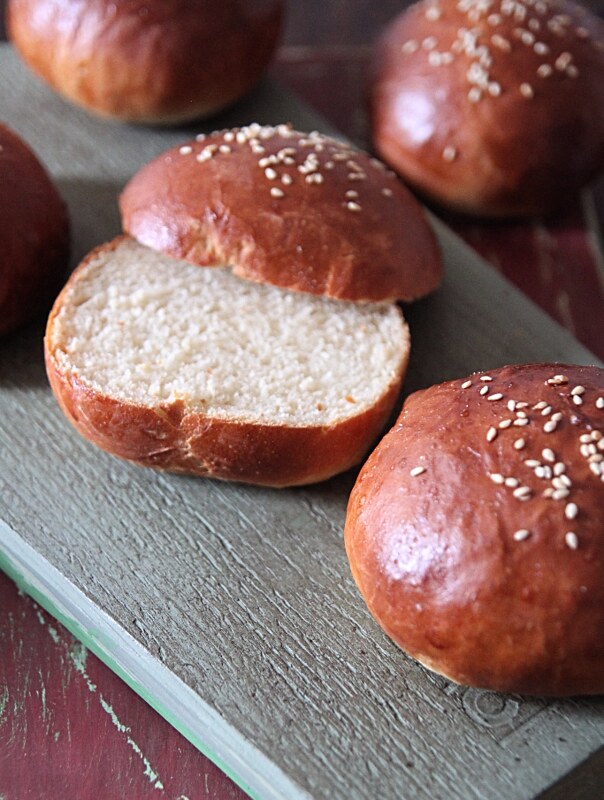
Light brioche burger buns

IMG_3610
Makes 6 medium size burger buns or about 5 large buns (Recipe adapted from here)
Bread flour- 1 1/4 cups + 3 1/2 tbsp
Salt- 1/4 tsp
Oil- 1 1/2 tbsp
Warm water- 1/2 cup
Whole milk- 1 1/2 tbsp
Active dry yeast- 1 tsp
Sugar- 1 1/4 tbsp
Egg- 1 large
Bread flour- 1 1/4 cups + 3 1/2 tbsp
Oil- 1 1/2 tbsp
Egg white- of one small egg for egg wash, lightly beated
Sesame seeds- around 1 tsp or so
897b213b-6ded-4caf-8a53-80022e2bc86d
Into the bowl of a free standing mixer add the flour and salt and rub in the oil with your finger tips so the flour resembles coarse bread crumbs. 
In a separate bowl whisk together the warm water, milk, yeast and sugar.
Beat at egg into it and pour this mix into the flour mix.
Using the dough hook of the mixer, start kneading the dough on medium speed for about 5 to 6 minutes, or till the dough comes together. If you are kneading by hand, lightly flour a work surface and knead for about 10 minutes till the dough is no longer sticky.
The dough should not be really sticky, but pliable without the use of more flour.
Oil the same mixing bowl and place the dough into it, spreading some oil on it to prevent drying.
Cover with a kitchen cloth and leave to rise for a minimum of 1.30hrs or till doubled in size.
I preheated my oven to about 40C, turned it off but with the light on and left the dough in there to proof. If proofing in the oven make sure its not more than 50C as forcing the rising will result in a dense, dry bread.

After the dough has risen to double its size, punch it down and scoop out of the bowl (on to a lightly floured surface if needed. I didnt need to use any) on to your kitchen counter.
Divide the dough into 6 equal portions. (I am a bit mental when it comes to sizes in baking so i actually measured out the portions each weighting approx 78 to 80gms)
Roughly roll each portion, flatten to a thick pancake size and bring the sides together to join in the middle and make a parcel of sorts. Then turn it over and using your palm, cup the ball and roll lightly to form a perfectly round bun.
Place all the buns on a tray lined with baking paper and keep aside to proof for another hour or till the buns have risen.
I placed them back into a warm oven with just the light on.
8827d788-55c5-4e91-9e9e-a4ebdf0348e6
When ready to bake, preheat oven to 200C
Brush the tops of the buns with egg white and sprinkle the sesame seeds.
Pour boiling water into a baking dish or any oven proof dish and place on the oven floor. The steam created will ensure soft buns.
Place the tray with the buns on the middle shelf and bake for about 13 to 15 minutes (if they are medium size and for about 20 minutes if large).
Remove from oven once they are done, and transfer on to cooling racks.
Store in a bread bin or wrap in cling film and use as required.

Notes: The recipe can easily be doubled.
The same recipe makes about 8 mini brioche buns
I overdid the egg white a bit too much and i suspect that why the tops browned waay too much. Use sparingly. Even milk would do instead of egg white

Tuesday, 21 March 2017

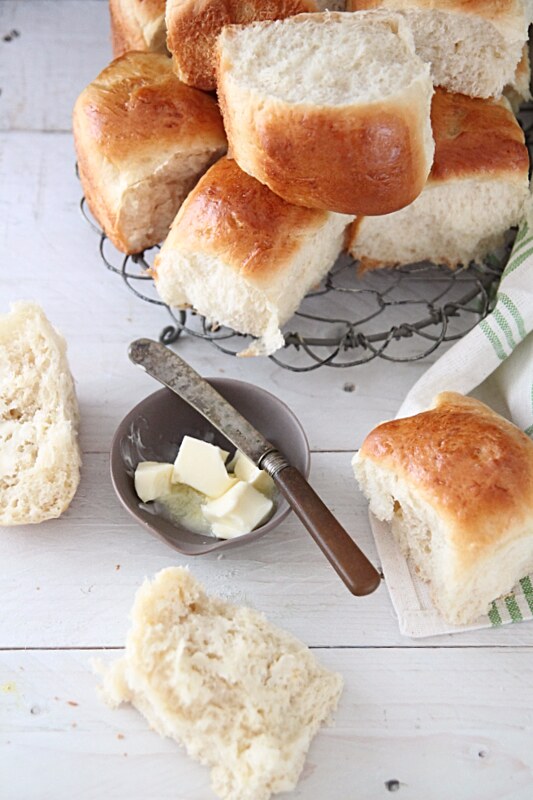
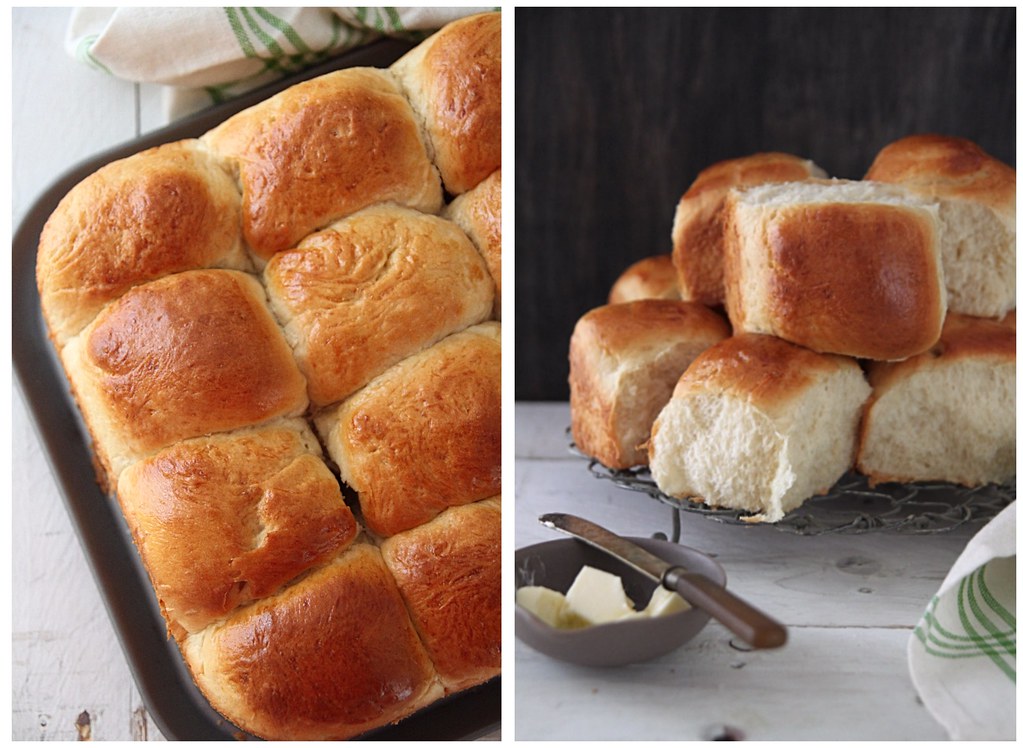
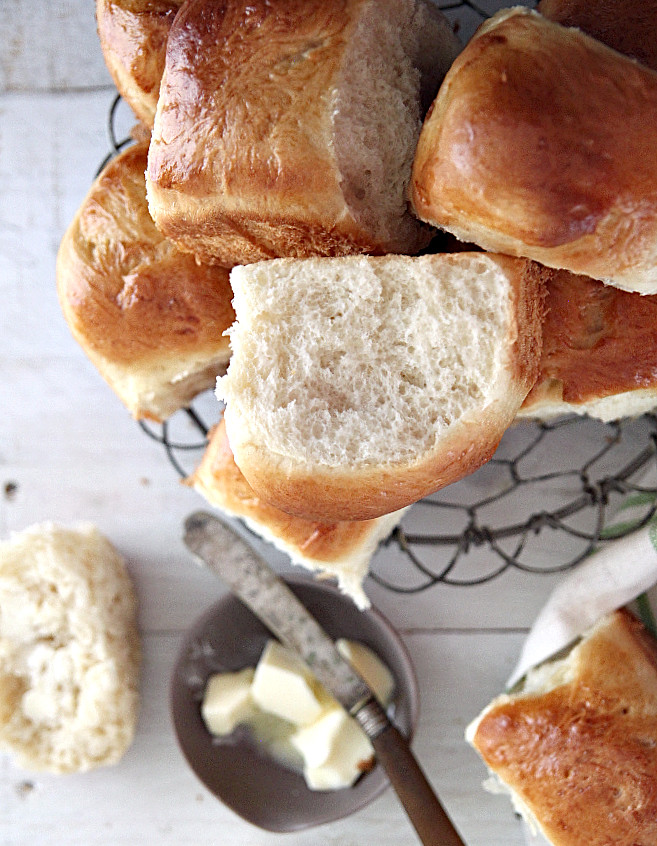
Super soft dinner rolls

d5ed239a-6bdd-4c39-973e-483316332fa0 
These rolls are really soft and so easy to make. You'd have most of these in your pantry and even with prooving time, you still can sort this out within 2.30 hrs or so. I decided at around 4pm that i needed to make dinner rolls and these were out of the oven before 7, and just in time for dinner.

Makes 12 rolls (Recipe adapted from here)
Whole milk- 1 cup, warm
Active dry yeast- 1 tbsp
Caster sugar- 2 tbsp
Salt- 1 tsp
Oil- 3 tbsp
Egg- 1, medium
Bread flour- 3 cups (plus 2 or 3 tbsp more)

Egg- 1 ,small beaten (or milk is also fine)
Butter- 1 tbsp, melted
PicMonkey Collage
Into the bowl of a free standing mixer add the warm milk, yeast, sugar, salt, oil and egg. 
Whisk lightly to incorporate it all together.
Add about 2 1/2 cups of flour and using the dough hook attachment for the mixer start kneading on low speed.
Once the initial mixing is done, turn the speed on to medium and add the remaining half of the flour and continue kneading on medium speed for about 5 minutes.
The humidity of the place will determine if you need more flour. In all likeliness you'd need the extra 2 or 3 tbsp of flour to get a dough that pulls away from the sides of the bowl, but take a call and add accordingly.
The dough is on the wetter side, but definitely not sticky, so aim to get a consistency like that. Dust your palms with some flour if needed to tackle the dough.
Oil the same mixing bowl and place the dough into it, spreading some oil on it to prevent drying.
Cover with a kitchen cloth and leave to rise for about an hour and half.
I preheated my oven to 25C, turned it off but with the light on and left the dough in there.

After about an hour or when the dough has risen to double its size, punch it down and scoop out of the bowl (on to a lightly floured surface if needed. I didnt need to use any) on to your kitchen counter.
Divide the dough into 12 equal portions. (I am a bit mental when it comes to sizes in baking so i actually measured out the portions each weighting approx 65gms)
Make a smooth ball out each portion and transfer them into a lightly greased baking tray and leave covered for another hour or till doubled in size. I placed them back into a warm oven with just the light on.
They will touch each other when they rise, and that's absolutely fine.
d770b276-ecac-4ee2-9988-6065d855bb0e
When ready to bake, preheat oven to 175C.
Brush the tops of each roll with an egg wash or milk wash and bake for 16 minutes. 
Make sure you dont over bake them.
Remove from oven and immediately brush with some melted butter.
Serve warm with some butter on the side

Notes: Cool completely on a cooling rack and store in plastic bags or cling wrap the rolls if using it the next day.
Store at room temperature, but microwave for about 20 seconds on high before using.
You can do the entire kneading process by hand, just make sure you knead till you get the desired non-sticky consistency.

Friday, 31 July 2015

Trip to Suffolk- Part 1 and a recipe for Indian spiced focaccia

IMG_6671 
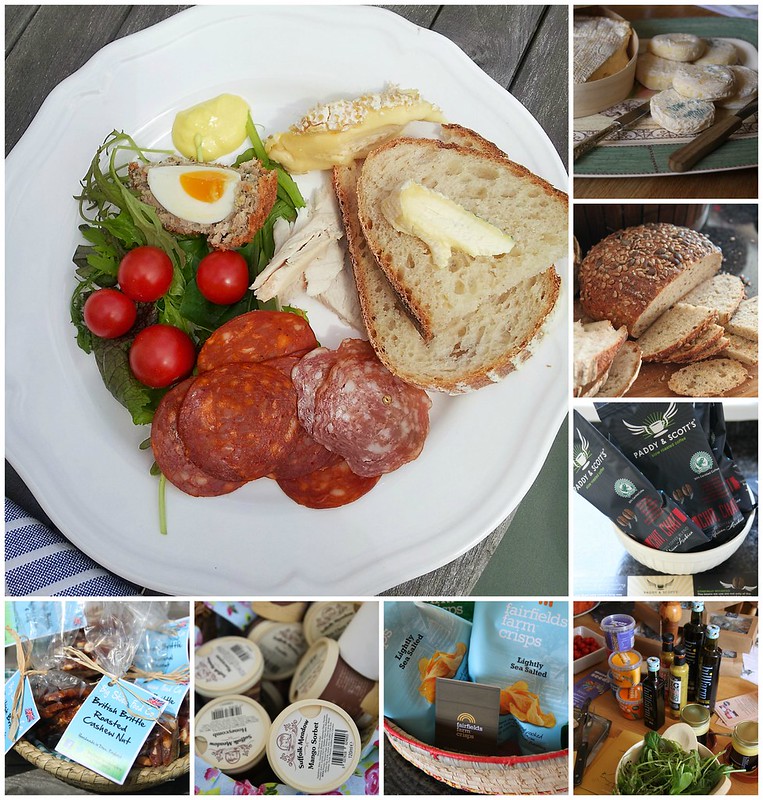
Last month I went on a press trip to the beautiful Suffolk countryside along with a few other bloggers and it was 2 days packed with activities and a lot of fun. Polly and Lucy of Food Safari put together a fabulous itinerary keeping all of us on our toes and feeding us (also literally) with loads of info on Suffolk and of course some delicious local produce.

We visited two of Suffolk's most successful food business- Hillfarm Oils the first UK producers of cold pressed rapeseed oil and Blythburgh Free Range Pork, one of only a handful of truly free range pig farms in the country who produce pork for many leading butchers and restaurants. I have so much to write about each of them so I split the trip into 2 parts. Part 1 on Hillfarm Oils and 2 on Blythburgh Pork.
hillfarm
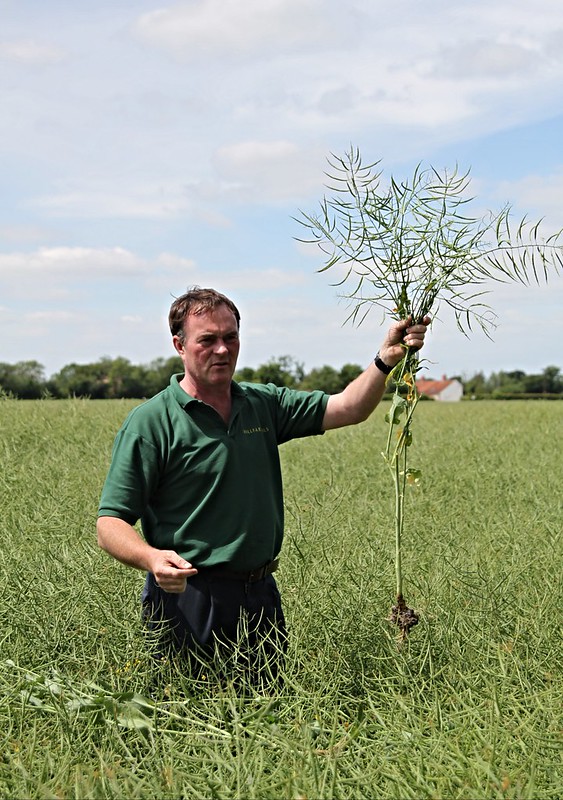
Me and a few others got to Denham by train from London and Sam Fairs of Hillfarm Oils took us to the farm, where we met the rest of the group including Sam's wife Claire, and Lucy and Polly. It was a beautiful sunny day and we got ready armed with our cameras and note pads to grab as much information possible. After a short coffee break Sam took us around the farm, explaining everything about rapeseed oil, stressing that it is the most healthiest and versatile cooking oil you can now buy in the market.
hillfarm1
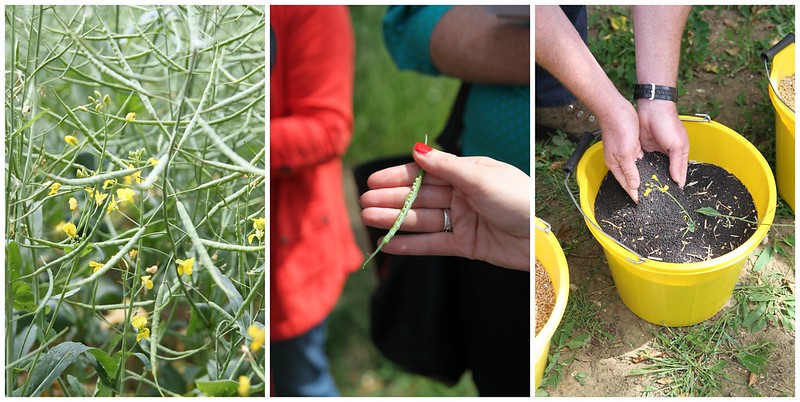
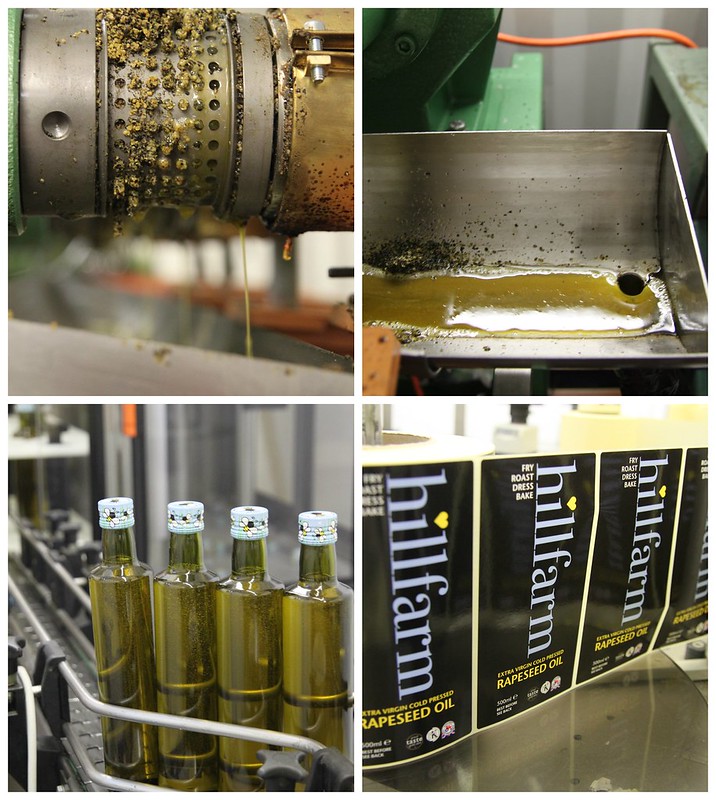
He explained all about the farming, the rotation of crops, harvesting, issues he faces and so on, all the while depicting the passion and dedication he had. Moving on to the main shed which is powered by solar panels, we were taken through the process of how the seeds are cleaned and separated and then pressed, filtered and packed, which was quite interesting. After sitting down to a gorgeous lunch of locally sourced produce, which were generously sponsored by the brands and thoroughly enjoyed by all of us, we went on to checking out some of the farm equipment or as Sam calls it his toys.
hillfarm2
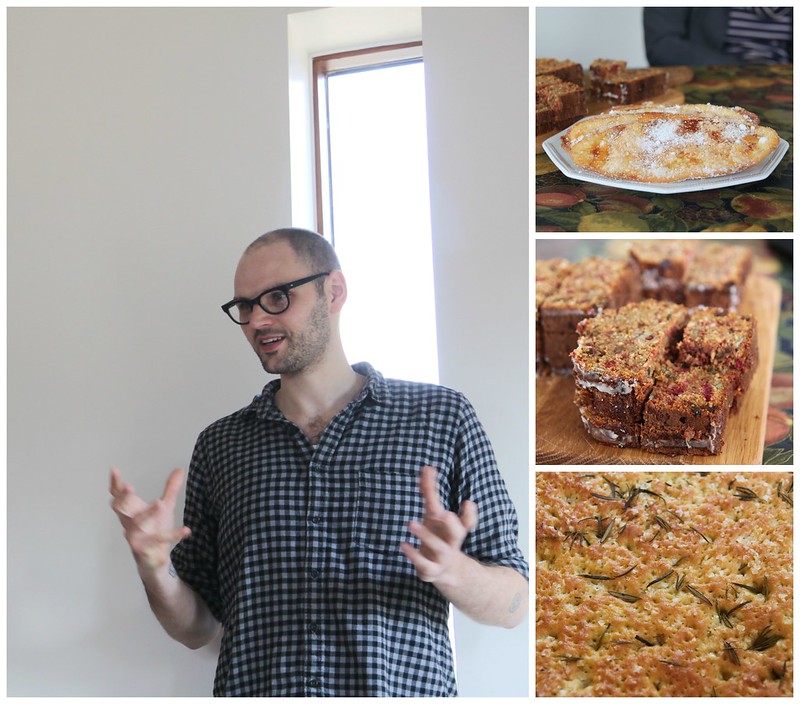
We all climbed on top of the harvester which to me looked like a mini plane that ran a bit of a complicated mechanism, but no doubts whatsoever on how good a job it does. The most interesting part of the day for me was the session with David of The Cake Shop Bakery where he explained about baking with rapeseed oil and its benefits. We also got to sample some of the breads he made using rapeseed oil and omg it was some of the best I've ever tasted. The focaccia was simply out of this world and so was the root cake which I am hoping to give a go sometime. The day ended on a fun note with a blind taste-testing of different oils and then a lovely dinner at the The Crown Hotel in Framlingham with the Food Safari team, Sam and Claire and Alistair of Blythburgh Pork. 
hillfarm3
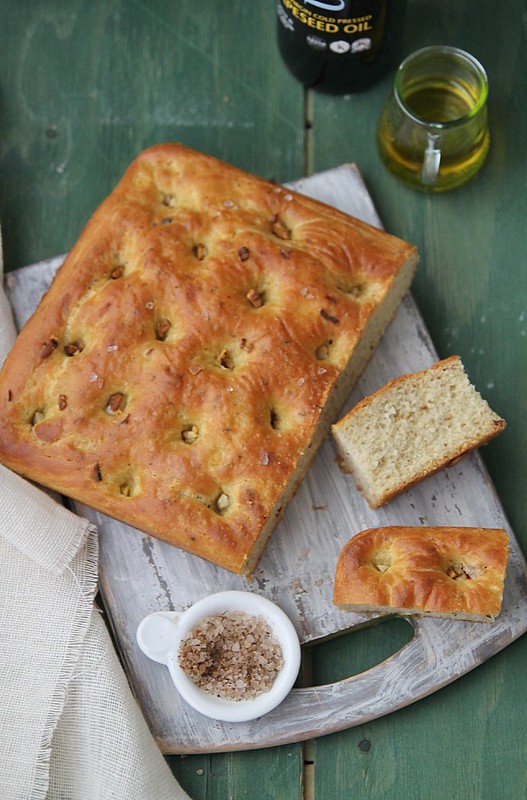
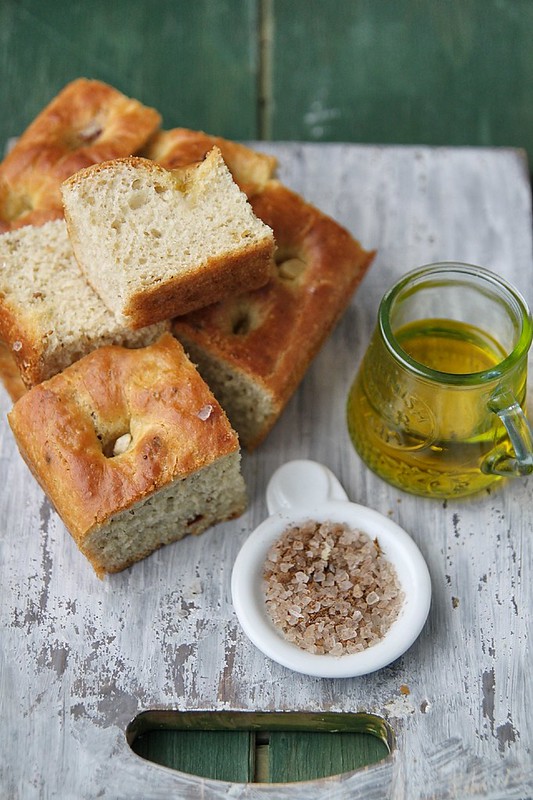
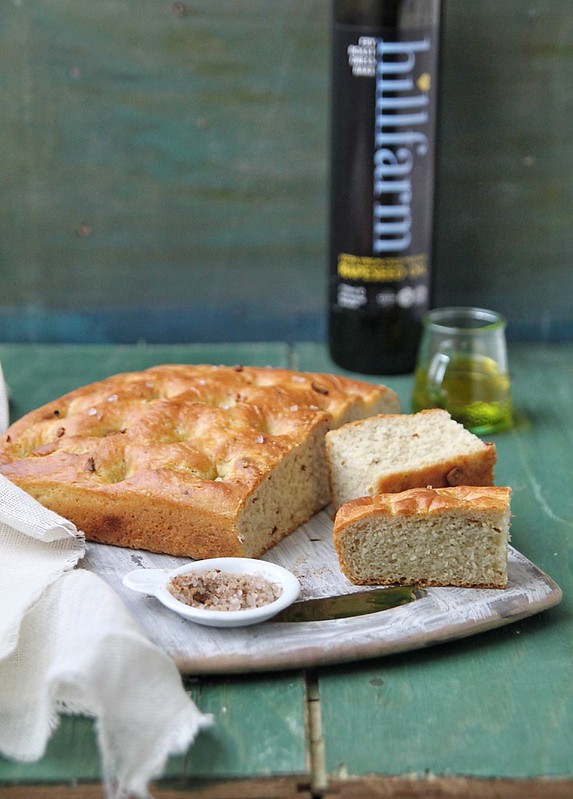
We were given goody bags with Hillfarm rapeseed oil and Hillfarm Mayonnaise, made with rapeseed which I've been generously using in salads and spreads and even in cooking. I have started using rapeseed for most of my cooking and i must say, although it took a little bit of getting used to, i now use it quite regularly. This Indian spiced focaccia was made using Hillfarm rapeseed oil and it was absolutely flavourful and delicious. Its my go to recipe for a basic focaccia and quite versatile in the sense it can be flavoured with whatever you have in hand. There is only one rising cycle which works to my advantage because the urge to bake bread comes without notice :)

Indian spiced focaccia (adapted from here, serves 4 as starter)
IMG_7432
Bread flour- 2.5 cups
Instant yeast- 1 tsp
Sugar- 1/2 tsp
Salt- 1 tsp
Dry red chillies- 2
Dried Fenugreek leaves- 1/2 tsp
Cumin seeds- 1 tsp (lightly toasted)
Hillfarm Rapeseed oil- 3 tbsp + enough to coat the pan and to drizzle on top
Warm water- Around 1 1/3 cups
Garlic- 3 to 4 pods, finely chopped
Garam masala salt- to sprinkle
IMG_7453
Gently crush together the red chillies, fenugreek leaves and cumin in a pestle and mortar. It doesnt have to be powdered.
Mix it into the flour along with the yeast, salt and sugar and rub in the rapeseed oil with your hands till you get a somewhat crumbly mix.
Make a well in the centre and pour in the luke warm water and using a wooden spoon bring it all together.
Either using the dough hook of your mixer or on a clean surface, knead the dough till it no longer sticks and is pliable, around 5 to 6 minutes on medium speed and around 10 minutes if using hands. If you feel it needs more flour, add it only spoon by spoon.
I like my focaccia thick, so I use my square 20cm pan.
Pour enough rapeseed oil to coat the base of the pan (generously) and transfer the dough into the pan.
Using your hands gently coax it to take the shape of the pan, pushing into the corners, and making sure its as even as possible.
Cover loosely with cling film and leave aside to proof for an hour or 2.
IMG_7429
When ready to bake pre heat oven to 200C
Make small indentations all over the dough with your finger around an inch apart and generously pour over some rapeseed oil to cover the entire surface and the holes.
Sprinkle the garlic on top followed by a bit of the garam masala salt and bake in the middle shelf of your oven for about 30 minutes. 
Once done remove from the oven, drizzle some more olive oil and salt and have warm.

Notes: You can use normal rock salt in place of garam masala salt
Make sure the garlic you sprinkle on top is coated in oil ir else it would start to burn
The focaccia stays perfectly fine in an air tight container for about 3 to 4 days and longer if refrigerated.
This is a mildly spicy focaccia, avoid the chillies if you cant handle the heat.

With thanks to Food Safari for inviting me to Suffolk and Hillfarm Oils for a great day out