Showing posts with label baking. Show all posts

Wednesday, 5 April 2017

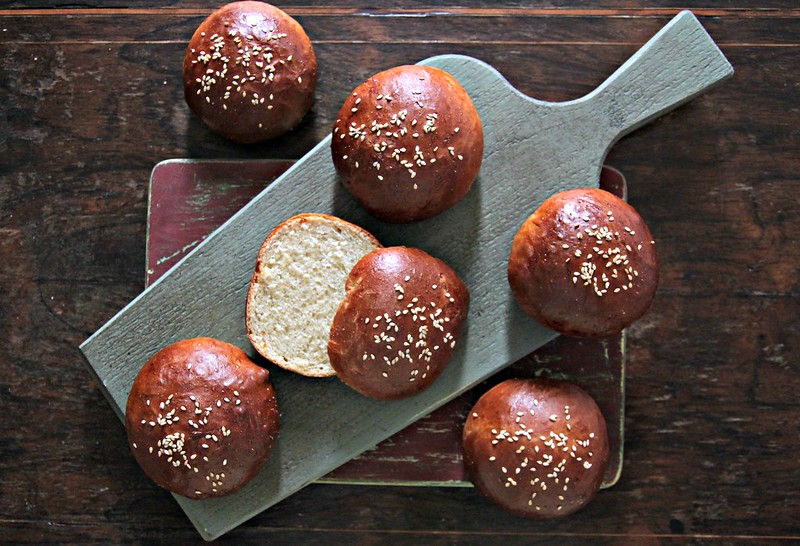
Light brioche burger buns

IMG_3610
Makes 6 medium size burger buns or about 5 large buns (Recipe adapted from here)
Bread flour- 1 1/4 cups + 3 1/2 tbsp
Salt- 1/4 tsp
Oil- 1 1/2 tbsp
Warm water- 1/2 cup
Whole milk- 1 1/2 tbsp
Active dry yeast- 1 tsp
Sugar- 1 1/4 tbsp
Egg- 1 large
Bread flour- 1 1/4 cups + 3 1/2 tbsp
Oil- 1 1/2 tbsp
Egg white- of one small egg for egg wash, lightly beated
Sesame seeds- around 1 tsp or so
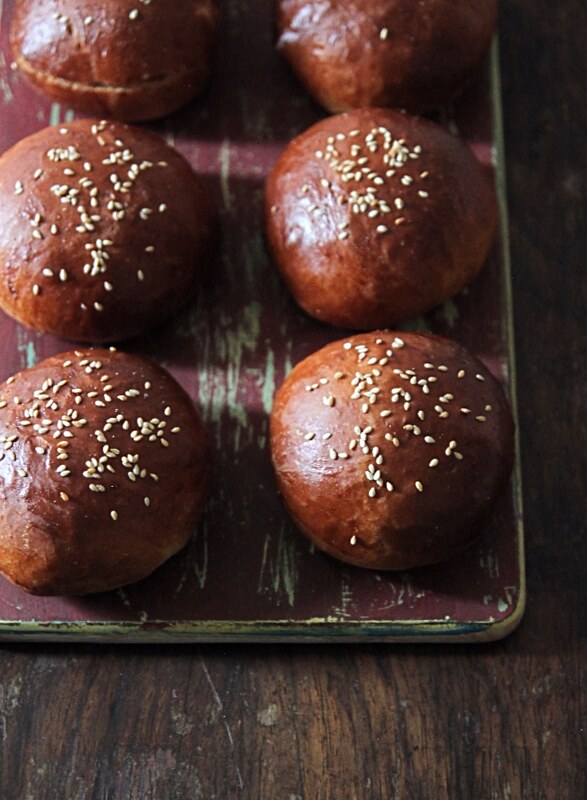
897b213b-6ded-4caf-8a53-80022e2bc86d
Into the bowl of a free standing mixer add the flour and salt and rub in the oil with your finger tips so the flour resembles coarse bread crumbs. 
In a separate bowl whisk together the warm water, milk, yeast and sugar.
Beat at egg into it and pour this mix into the flour mix.
Using the dough hook of the mixer, start kneading the dough on medium speed for about 5 to 6 minutes, or till the dough comes together. If you are kneading by hand, lightly flour a work surface and knead for about 10 minutes till the dough is no longer sticky.
The dough should not be really sticky, but pliable without the use of more flour.
Oil the same mixing bowl and place the dough into it, spreading some oil on it to prevent drying.
Cover with a kitchen cloth and leave to rise for a minimum of 1.30hrs or till doubled in size.
I preheated my oven to about 40C, turned it off but with the light on and left the dough in there to proof. If proofing in the oven make sure its not more than 50C as forcing the rising will result in a dense, dry bread.

After the dough has risen to double its size, punch it down and scoop out of the bowl (on to a lightly floured surface if needed. I didnt need to use any) on to your kitchen counter.
Divide the dough into 6 equal portions. (I am a bit mental when it comes to sizes in baking so i actually measured out the portions each weighting approx 78 to 80gms)
Roughly roll each portion, flatten to a thick pancake size and bring the sides together to join in the middle and make a parcel of sorts. Then turn it over and using your palm, cup the ball and roll lightly to form a perfectly round bun.
Place all the buns on a tray lined with baking paper and keep aside to proof for another hour or till the buns have risen.
I placed them back into a warm oven with just the light on.
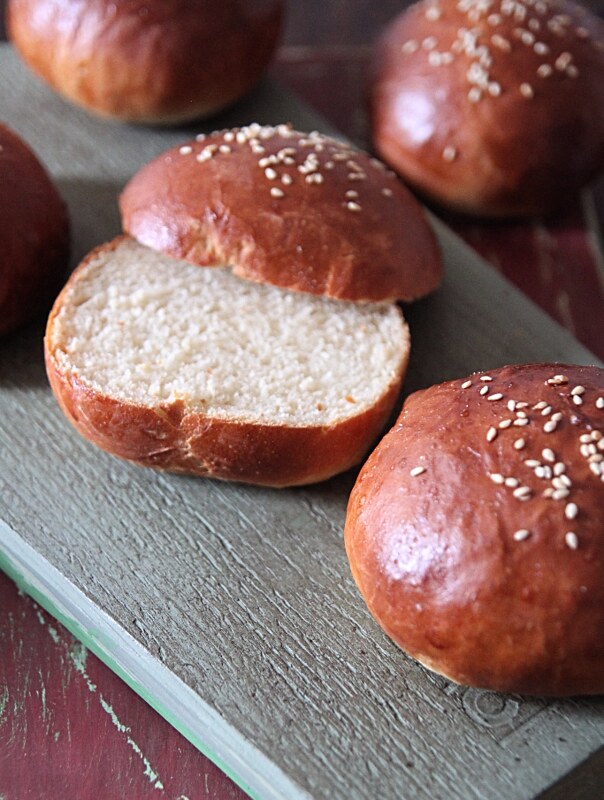
8827d788-55c5-4e91-9e9e-a4ebdf0348e6
When ready to bake, preheat oven to 200C
Brush the tops of the buns with egg white and sprinkle the sesame seeds.
Pour boiling water into a baking dish or any oven proof dish and place on the oven floor. The steam created will ensure soft buns.
Place the tray with the buns on the middle shelf and bake for about 13 to 15 minutes (if they are medium size and for about 20 minutes if large).
Remove from oven once they are done, and transfer on to cooling racks.
Store in a bread bin or wrap in cling film and use as required.

Notes: The recipe can easily be doubled.
The same recipe makes about 8 mini brioche buns
I overdid the egg white a bit too much and i suspect that why the tops browned waay too much. Use sparingly. Even milk would do instead of egg white
Friday, 31 July 2015

Trip to Suffolk- Part 1 and a recipe for Indian spiced focaccia

IMG_6671 
Last month I went on a press trip to the beautiful Suffolk countryside along with a few other bloggers and it was 2 days packed with activities and a lot of fun. Polly and Lucy of Food Safari put together a fabulous itinerary keeping all of us on our toes and feeding us (also literally) with loads of info on Suffolk and of course some delicious local produce.

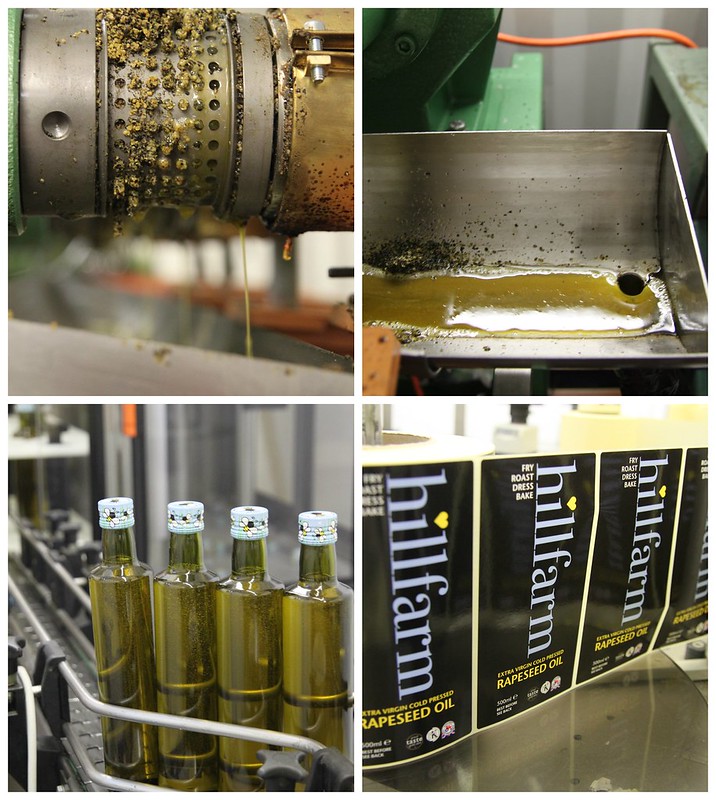
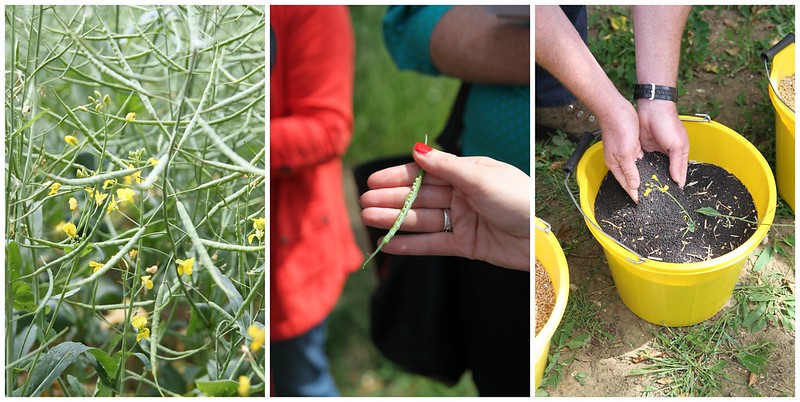
We visited two of Suffolk's most successful food business- Hillfarm Oils the first UK producers of cold pressed rapeseed oil and Blythburgh Free Range Pork, one of only a handful of truly free range pig farms in the country who produce pork for many leading butchers and restaurants. I have so much to write about each of them so I split the trip into 2 parts. Part 1 on Hillfarm Oils and 2 on Blythburgh Pork.
hillfarm
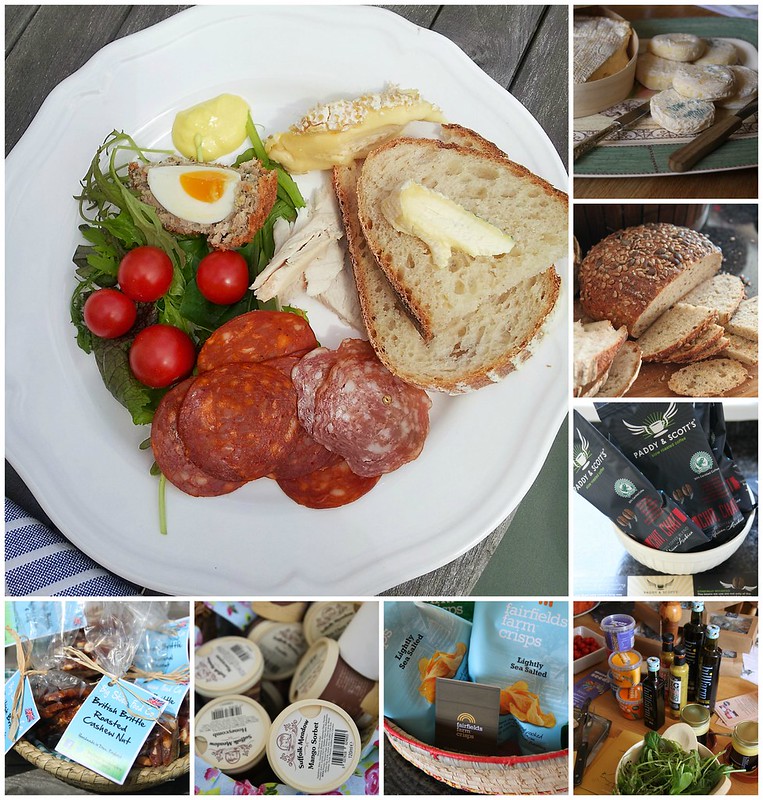
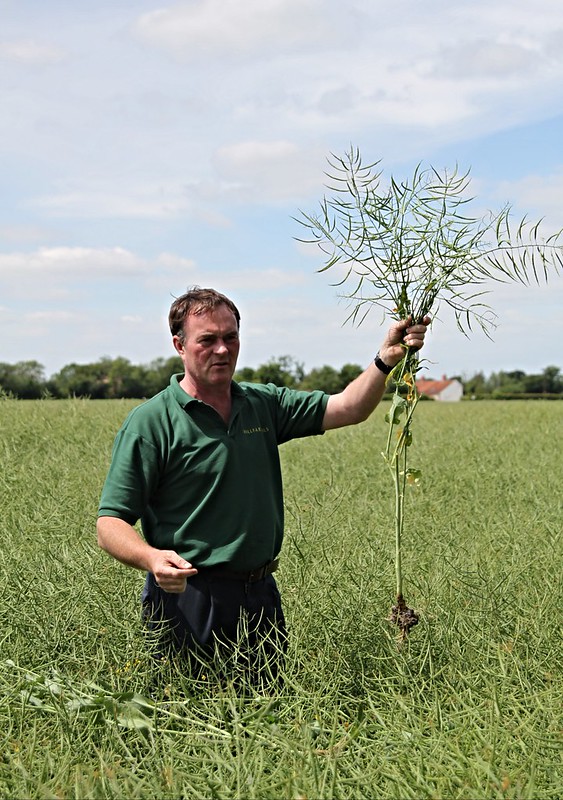
Me and a few others got to Denham by train from London and Sam Fairs of Hillfarm Oils took us to the farm, where we met the rest of the group including Sam's wife Claire, and Lucy and Polly. It was a beautiful sunny day and we got ready armed with our cameras and note pads to grab as much information possible. After a short coffee break Sam took us around the farm, explaining everything about rapeseed oil, stressing that it is the most healthiest and versatile cooking oil you can now buy in the market.
hillfarm1
He explained all about the farming, the rotation of crops, harvesting, issues he faces and so on, all the while depicting the passion and dedication he had. Moving on to the main shed which is powered by solar panels, we were taken through the process of how the seeds are cleaned and separated and then pressed, filtered and packed, which was quite interesting. After sitting down to a gorgeous lunch of locally sourced produce, which were generously sponsored by the brands and thoroughly enjoyed by all of us, we went on to checking out some of the farm equipment or as Sam calls it his toys.
hillfarm2
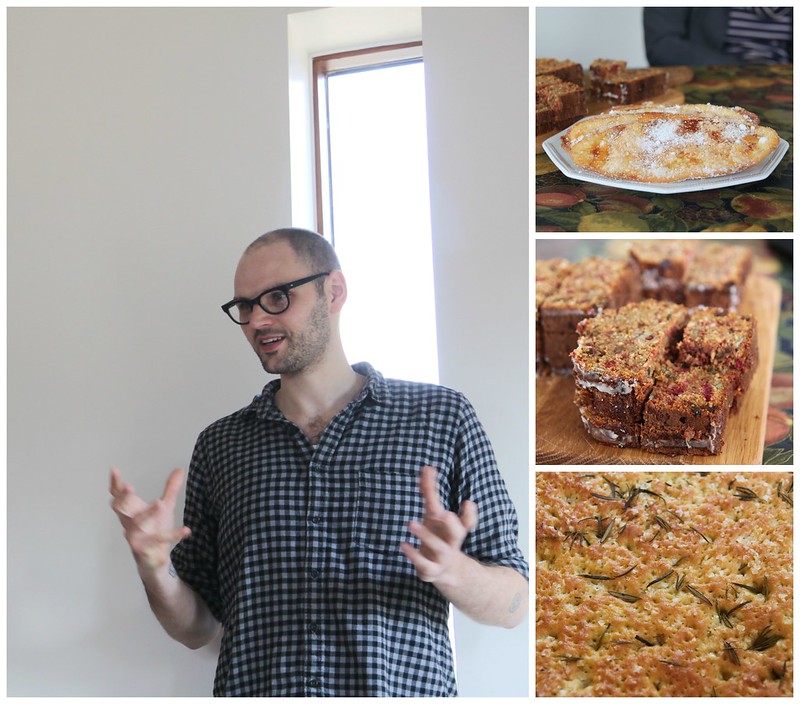
We all climbed on top of the harvester which to me looked like a mini plane that ran a bit of a complicated mechanism, but no doubts whatsoever on how good a job it does. The most interesting part of the day for me was the session with David of The Cake Shop Bakery where he explained about baking with rapeseed oil and its benefits. We also got to sample some of the breads he made using rapeseed oil and omg it was some of the best I've ever tasted. The focaccia was simply out of this world and so was the root cake which I am hoping to give a go sometime. The day ended on a fun note with a blind taste-testing of different oils and then a lovely dinner at the The Crown Hotel in Framlingham with the Food Safari team, Sam and Claire and Alistair of Blythburgh Pork. 
hillfarm3
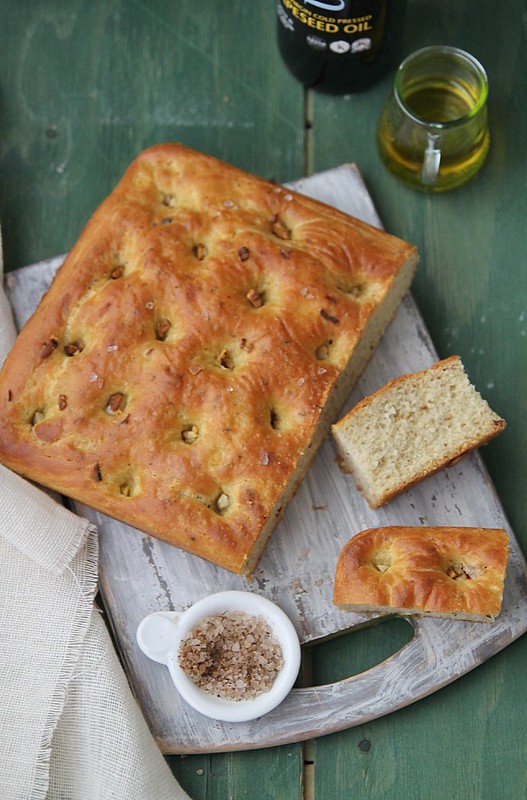
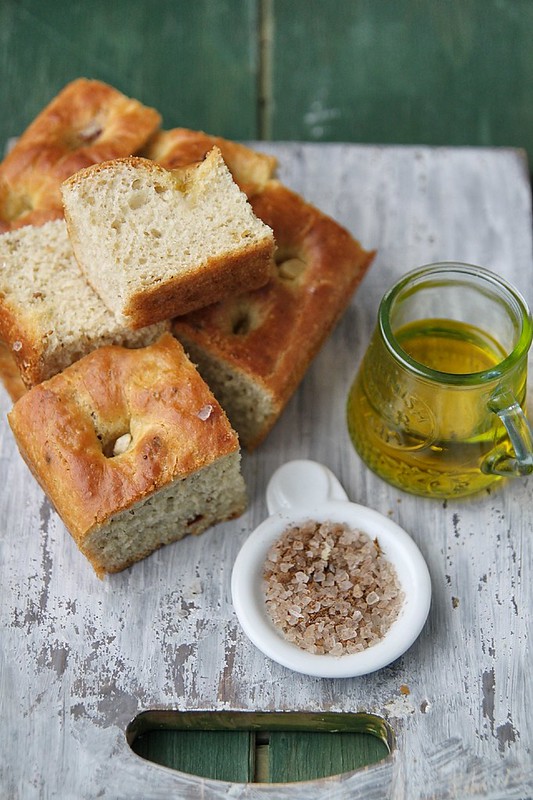
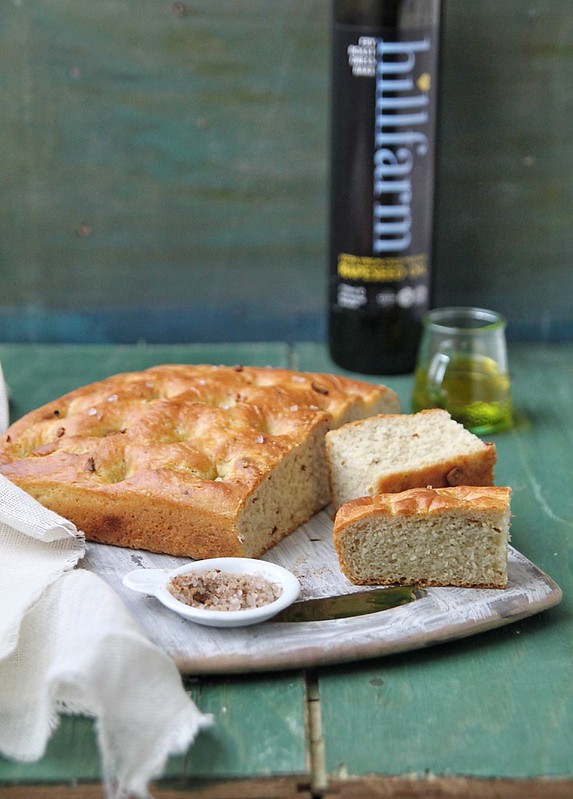
We were given goody bags with Hillfarm rapeseed oil and Hillfarm Mayonnaise, made with rapeseed which I've been generously using in salads and spreads and even in cooking. I have started using rapeseed for most of my cooking and i must say, although it took a little bit of getting used to, i now use it quite regularly. This Indian spiced focaccia was made using Hillfarm rapeseed oil and it was absolutely flavourful and delicious. Its my go to recipe for a basic focaccia and quite versatile in the sense it can be flavoured with whatever you have in hand. There is only one rising cycle which works to my advantage because the urge to bake bread comes without notice :)

Indian spiced focaccia (adapted from here, serves 4 as starter)
IMG_7432
Bread flour- 2.5 cups
Instant yeast- 1 tsp
Sugar- 1/2 tsp
Salt- 1 tsp
Dry red chillies- 2
Dried Fenugreek leaves- 1/2 tsp
Cumin seeds- 1 tsp (lightly toasted)
Hillfarm Rapeseed oil- 3 tbsp + enough to coat the pan and to drizzle on top
Warm water- Around 1 1/3 cups
Garlic- 3 to 4 pods, finely chopped
Garam masala salt- to sprinkle
IMG_7453
Gently crush together the red chillies, fenugreek leaves and cumin in a pestle and mortar. It doesnt have to be powdered.
Mix it into the flour along with the yeast, salt and sugar and rub in the rapeseed oil with your hands till you get a somewhat crumbly mix.
Make a well in the centre and pour in the luke warm water and using a wooden spoon bring it all together.
Either using the dough hook of your mixer or on a clean surface, knead the dough till it no longer sticks and is pliable, around 5 to 6 minutes on medium speed and around 10 minutes if using hands. If you feel it needs more flour, add it only spoon by spoon.
I like my focaccia thick, so I use my square 20cm pan.
Pour enough rapeseed oil to coat the base of the pan (generously) and transfer the dough into the pan.
Using your hands gently coax it to take the shape of the pan, pushing into the corners, and making sure its as even as possible.
Cover loosely with cling film and leave aside to proof for an hour or 2.
IMG_7429
When ready to bake pre heat oven to 200C
Make small indentations all over the dough with your finger around an inch apart and generously pour over some rapeseed oil to cover the entire surface and the holes.
Sprinkle the garlic on top followed by a bit of the garam masala salt and bake in the middle shelf of your oven for about 30 minutes. 
Once done remove from the oven, drizzle some more olive oil and salt and have warm.

Notes: You can use normal rock salt in place of garam masala salt
Make sure the garlic you sprinkle on top is coated in oil ir else it would start to burn
The focaccia stays perfectly fine in an air tight container for about 3 to 4 days and longer if refrigerated.
This is a mildly spicy focaccia, avoid the chillies if you cant handle the heat.

With thanks to Food Safari for inviting me to Suffolk and Hillfarm Oils for a great day out

Thursday, 25 September 2014

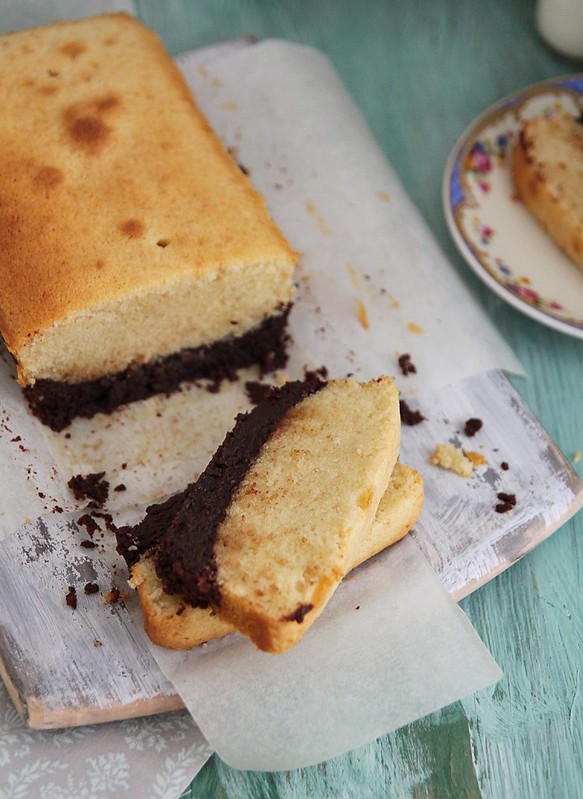
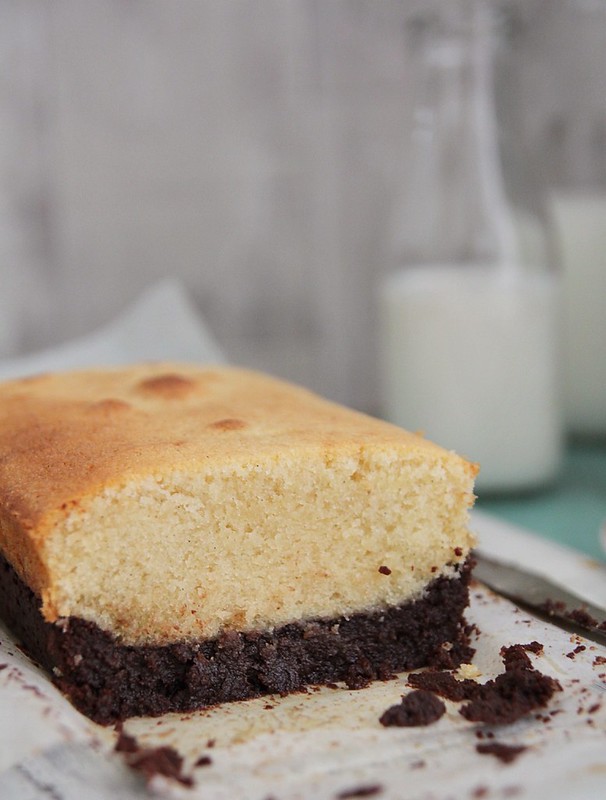
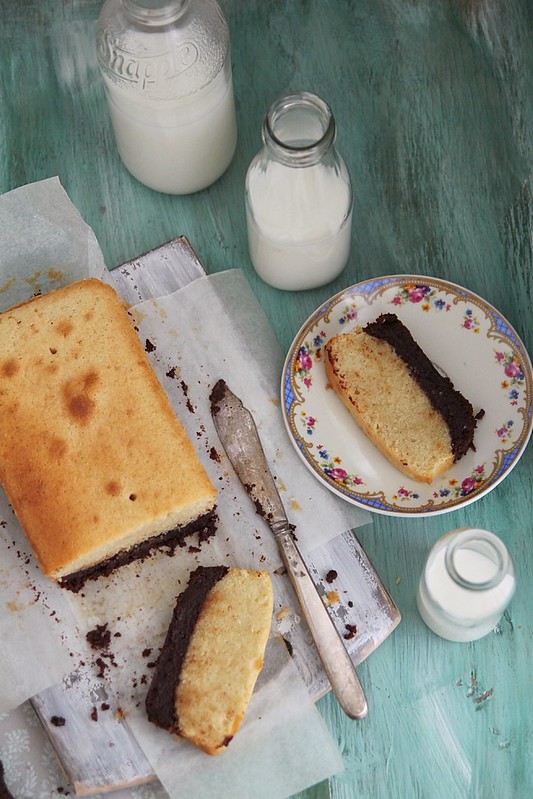
Brownie butter cake

IMG_4534 (2)
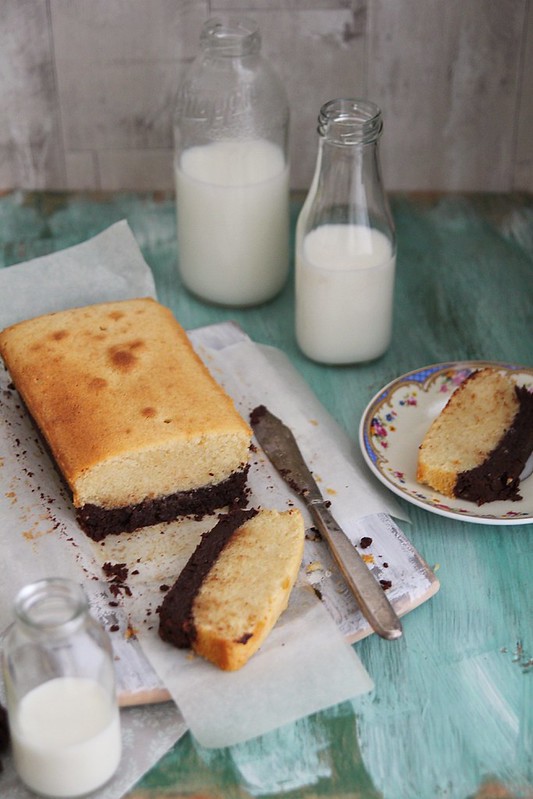
Brownie and a butter cake together. Need i say more? Yeah, didn't think so. Every other day Ro asks me, whats for dessert, do we have cake, whats for tea and the answer to this most of the time is, er chocolates? fruit? He gets distracted with those options most of the time, but otherwise he makes a face and pretends like I've deprived him of his basic necessities.

I made my custard cake sometime last month on a whim, (mostly to finish off the last of the custard powder and baking soda that had gone past expiry) and I wasn't sure it would work because expired baking soda fetches the most horrid cakes. To my surprise however, this one turned out so so good, much better than the first time and it stayed perfectly moist at room temperature for about 5 days- all i did was cover the cake pan with foil.
IMG_4508 (1) 
I put Ro through the torture of watching Great British Bake Off and about 2 weeks back on a Sunday evening he wanted to eat cake and trying to get me off the couch challenged me to bake a cake in 1 hr. He did the whole GBBO intro line and all, and me like an idiot fell for it. So i got around baking my mums beat and bake chocolate cake- a cake id grown up with, but never managed to get right for some strange reason. This time I was so hasty with the recipe and couldn't care if it turned out nice or not cos 1- I'm not a chocolate cake fan and 2- Ro would eat anything with chocolate, no matter how it turns out. Surprise, surprise I'd made the most perfect chocolate cake in less than an hour. I was so proud of myself, not because i did it in time, but because i managed to get the taste bang on- the taste of the cake just as i remember from my childhood. Needless to say, the husband polished it all off in no time.

Since the cake luck was prevailing right now, I decided to bake a cake again, today. When I'm in the cake baking mood, its almost always a new recipe I put to test (along with my patience). I'd bookmarked Bee's brownie butter cake ages back and had completely forgotten about it till this morning when i was scouting my bookmarked list. I checked if i had all the ingredients, and except for brown sugar, i had all the other things needed. I still decided to go ahead, substituting brown sugar for demerara sugar.

I initially thought it was going to take time, but nope, had it all done in under an hour again and its a cake that can actually make someone say wow. I am not a big fan of brownies, so i really didn't care too much for that layer, but omg the butter cake was so so good. Moist like nobody's business and so darn tasty. I must remember to make just that one of these days.

Recipe adapted from here
IMG_4517 (1) 
For the brownie base
Dark chocolate- 140 gms, chopped into small pieces
Unsalted butter- 50 gms
Demerera sugar- 50 gms
Egg- 1, at room temperature
Plain flour- 35 gms

For the butter cake
Unsalted butter- 120 gms, at room temperature
Granulated sugar- 100 gms
Vanilla extract- 1/2 tsp
Eggs- 2, at room temperature
Plain flour- 120 gms
Baking powder- 1/2 tsp
Milk- 50 ml
IMG_4525 (1)
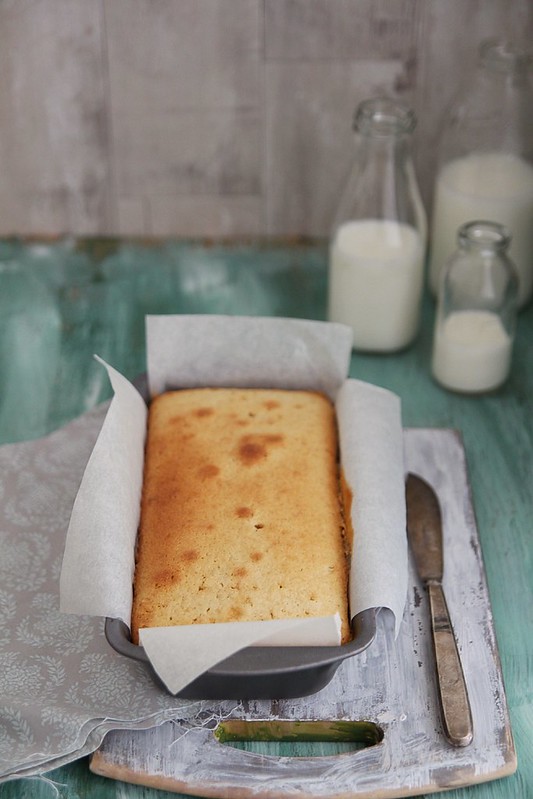
Preheat the oven to 180C and line a 20 x 10 cm loaf pan with baking paper.
On a bain marie melt the chocolate and butter till nice and smooth.
Take it off heat, leave aside for a couple of minutes and into it add the sugar. Whisk well
Break the egg into it, and beat till well combined.
Pour into the greased and lined loaf pan and chuck into the oven.
Bake for 15 minutes

While the brownie is baking, get on with the butter cake.
Cream together the butter and sugar in a mixing bowl till light and fluffy. You can either use a hand held blender or a spatula. I wanted it to be as simple as possible, so i didn't use my free standing mixer. Feel free to do so.
In goes the vanilla extract followed by eggs one after the other, beating well after each addition. The mix may look a bit curdled, but don't worry, the flour would sort this out.
Whisk together the plain flour and baking powder in a separate bowl and add it to the batter, alternating with the milk. 
Once the brownie comes out of the oven, reduce heat to 160C and pour the cake batter on top and immediately even it out with a spatula.
Chuck it back into the oven and bake for a further 30 minutes or till a skewer inserted into the centre of the cake comes out clean.
Once done, cool the cake on a rack and let the cake settle before slicing.
IMG_4530 (1)
Notes: Like i mentioned earlier i didn't have brown sugar, so used demerara instead. Please use brown sugar if you have it.
The brownie bit was still very gooey when i cut into it around 15 minutes later. But was fine when i went back to slice it around an hour later. Yes it was torture waiting to dig in. Using a serrated knife helps.
The cake batter when poured on top of the hot brownie melts immediately. Don't panic, just don't wait but try and do the deed as quickly as possible.

Tuesday, 17 June 2014

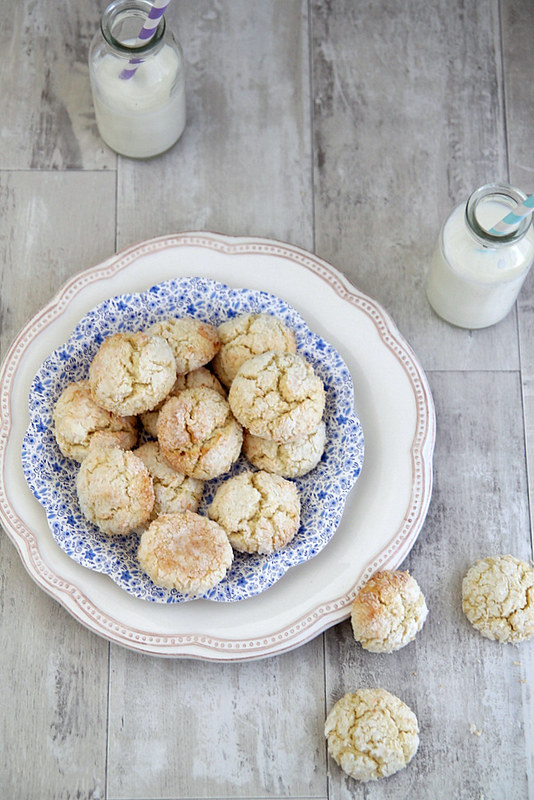
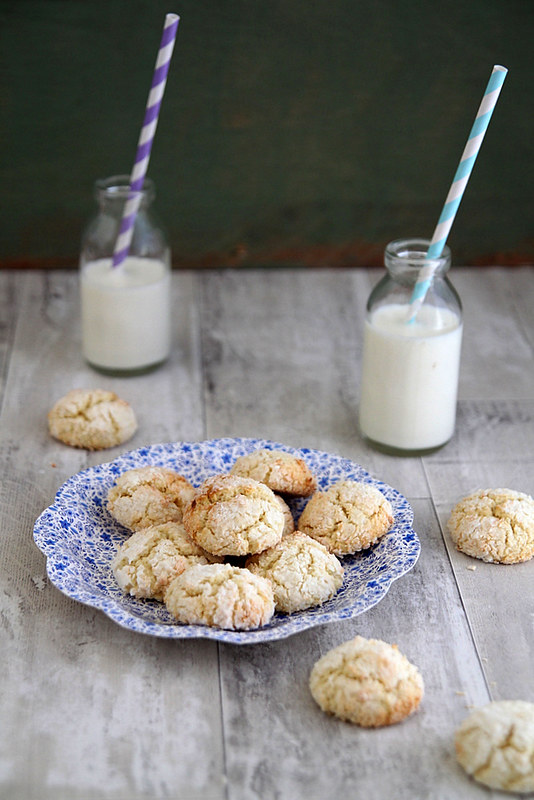
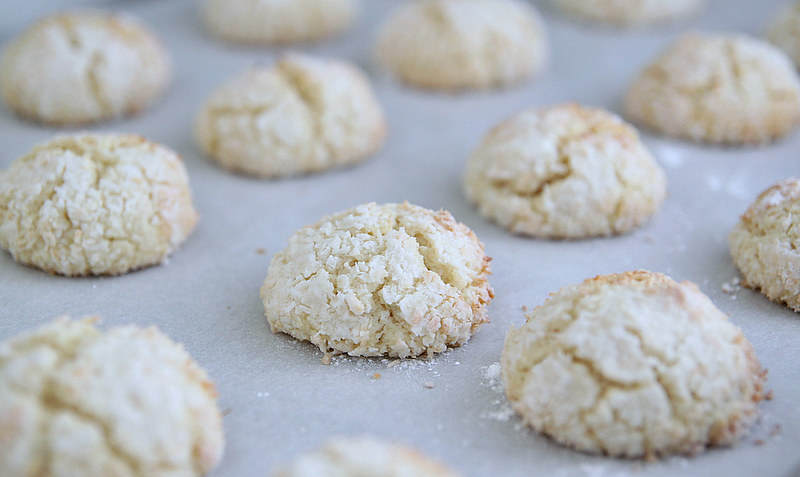
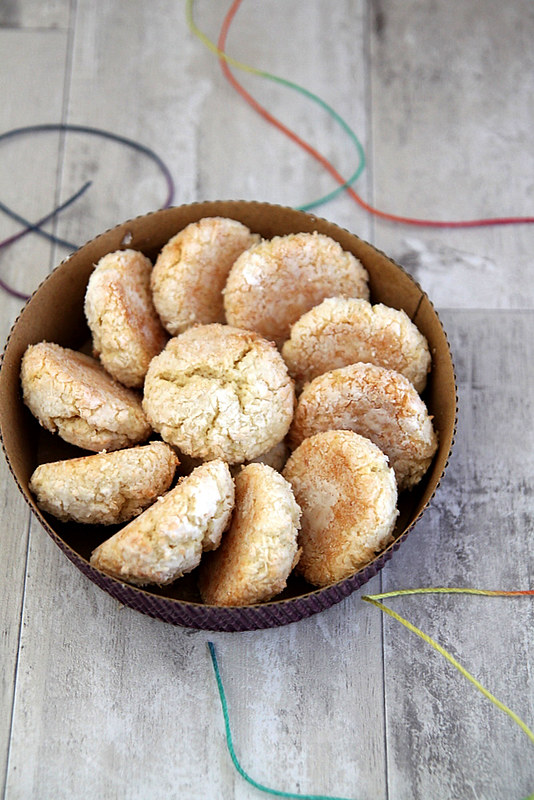
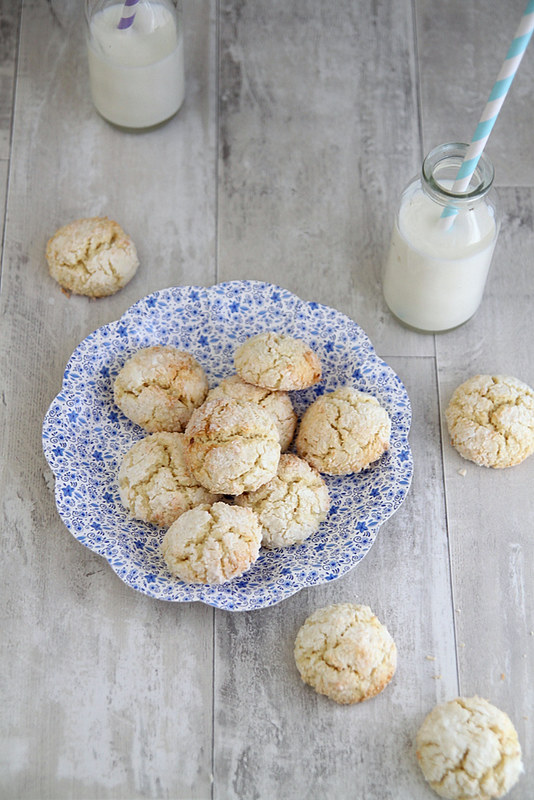
Lime and coconut crinkle cookies

IMG_3779
Its been a while since I posted a cookie recipe on the blog. Well, that's because I rarely make cookies and other than biting into them fresh out of the oven, I kinda don't like them that much. Of course its a different story for Ro, who claims he buys Oreo cookies just because I don't make any at home.

So last week I was heading over to G's place for a fun afternoon dress-up session (more about that later) and I had to take something for her lil boy who is so so adorable. I was on a tight schedule and had to figure something that could be easily made, with available ingredients and of course tastes good. I scouted around my bookmarked recipes and found this recipe, and I strangely had a couple of limes lying around in the fridge.
IMG_3763 
I've developed this new found love for lime (well, I always liked it in a margarita), mostly after tasting the awesome lime filling my boss makes for the macarons. It's perhaps one of my fav fillings, closely followed by passion fruit. I was a bit sceptical about whether kids would like lime and coconut as a flavour, as its somehow very adult-y, but then I had to give it a shot to see if it was worth it. I for one, loved it. G told me she and her nanny loved it, but I didn't get around to asking if lil S liked it. I served the leftover few to my niece and nephew the next day and they loved it, so I'm thinking even kids may actually have a thing for that flavour.

To be honest its very lime-y and coconutty. If you don't like these two flavours that much, then don't even bother scrolling down. If you like the lime flavour, but the coconut not so much, then do as the original recipe calls for where you roll the dough in granulated sugar and not coconut. The 15gms of coconut in the cookie doesn't really bring out too much of its flavour. I wanted it to be coconutty and hence rolled it it coconut.

Recipe adapted from here (makes around 36 to 38 cookies)
IMG_3749
Unsalted butter- 80 gms, at room temperature
Caster sugar- 100 gms
Egg- 1, small
Lime zest- from 1 lime
Lime juice- 2 tbsp
Dessicated coconut- 15 gms + enough to roll the cookies
Plain flour- 220 gms
Baking powder- 2 tsp
Icing sugar- to roll the cookies (around 2 tbsp)

Cream together the butter and sugar in a large mixing bowl, till light and fluffy. I used a silicone spatula for this as my butter was of a nice easy-to-handle consistency. Use the paddle attachment of your stand mixer to make the creaming easier.
Into the mix add the egg, lime zest and juice and dessicated coconut.
Mix till you get a smooth mix. I switched to a wooden spoon to make this job easier. You can use the same spatula, or even a whisk if that's easier for you.
Sieve together the plain flour and baking powder and add it to the butter mix, bit by bit, mixing after each addition. Use a fork to do the mixing.
One the mixture has come together, cover with a cling film and refrigerate for about 1/2 an hour.
IMG_3785
When ready to bake, preheat the oven to 180C and line 2 baking trays with baking paper.
Into a large plate add the icing sugar on one side and the dessicated coconut on the other. 
Keep a cup with water ready by the side because you'd need to keep wetting your hands to roll the dough.
Make small balls with the dough, first roll it in the dessicated coconut, followed by a generous roll in the icing sugar and place on the baking tray about an inch apart.
Continue till you finish the entire dough.
Bake for about 10 minutes and 12 if its a bit on the bigger side but not longer.
Cool on wire racks and enjoy them immediately or store in air tight containers and use up in 2 to 3 days (if you can stay away from it that long) :)
IMG_3757
Notes: The mix curdled quite a bit when i started mixing and of course I panicked but once you add the flour, it becomes alright
The original recipe used granulated sugar for the first coat, but i thought coconut was a better option. Feel free to replace it with granulated sugar.
The cookies are really lime-y, so reduce it to 1 tbsp if you don't want it too strong.

Friday, 31 May 2013

Challah bread

IMG_8884
I don't have too many bread recipes on my blog. Its not because I don't bake bread, its because the process takes waaay too long in this cold weather. I have to start in the morning for it to rise (twice) and have it ready for dinner. Which makes it impossible to take pictures. This time however, I was lucky, since I had a bread bin to keep my bread in and not worry about it going stale since the next sunny day was 2 days later. You think I'm crazy? Join the club. I know a whole lot of people who think I'm crazy because I check the weather every hour to plan my photo shoot. Lucky for me, most of my readers are food bloggers and you'd know exactly what I'm talking about!

Garden Trading is this beautiful online store which provides functional everyday products for the home and garden. First look at their website and I was hooked. I wanted everything they displayed and they fit my style so so well. I'm a sucker for anything rustic with the whole country-house, farm house feel and Garden Trading has everything that fits the theme.. I was sent the Bread Bin in Flint to review and since we were on the look out for a bread bin, the timing couldn't be better. 

IMG_8940
The colour, a soft grey, blends well with my decor, the design stylish with a chrome handle lid, and the interior the same soft grey colour. The only (small) issue I had was the size, which for my tiny kitchen was a tad too big. I have very little counter space and so putting the bin there wasn't an option. It was too big to go on top of my microwave either. That said, the bin can easily hold two big loaves of bread and we've even chucked in some packs of chocolate and stuff as well. We made it work somehow and I, for one, love having the bread bin in my kitchen now.

The Challah bread (pronounced "hallah") was put in the bread bin for about 2 days and then I made some delicious French toast with it. I've wanted to make this gorgeous looking bread for so long but kept putting it off because I thought the braid was complicated. And it was!! After watching numerous YouTube videos I still didn't get it right. Tried it thrice and then on the 4th I just made a normal 3 braid challah, shaped it in a circle and called it a day. The bread is soft, slightly sweet and perfect with a spread of brandy butter. Or if you want to be more experimental, make a French toast or bread pudding with this gorgeous looking bread.

Recipe halved from here (makes one small loaf)
IMG_8883 
Plain flour- 2 to 2 1/4 cups 
Granulated sugar- 
Salt- 1 tsp
Instant yeast- 1 tsp
Egg- 1 large
Egg yolk- 1 small (take off about 1 tsp from this and keep aside to do an egg wash)
Water- 1/2 cup (lukewarm)
Vegetable oil- 1 oz

Into the bowl of a free standing mixer (or mixing bowl if using your hand) add the flour, sugar, salt and instant yeast. Stir to combine.
Make a well in the centre and add the egg, egg yolk and vegetable oil. Mix using a wooden spoon till the mix becomes wet.
Add the warm water, and using the same wooden spoon mix them all together...roughly.
Attach the dough hook and knead on medium speed for about 5 to 6 minutes, or till the dough is soft and smooth and is no longer sticky. My dough was really sticky, so I ended up adding at least 2 tbsp of flour. If you are using your hands to knead, then flour a work top and knead for about 10 minutes till you achieve the desired consistency.
Lightly oil the same bowl and place the (lightly greased) dough ball in it. Cover with a cling film and leave it in aside to rise. I preheated my oven at 100C for about 6 to 7 minutes and placed the bowl inside with the light on. It took the dough about 3 1/2 hours to double in size.
IMG_8910
Punch the dough down and separate the dough into 3 equal sizes. 
Roll each of them out into a long rope about 1 inch thick and around 8 to 10 inches long. They might shrink as you try to roll them. In that case, just leave them aside to rest for 5 minutes and try it again.
Join the ends of all the three ropes and secure tightly by pressing then together.
Then spread the three ropes and try and braid them like how you do your hair. If you mess up, don't worry, start over. (I had to.. thrice!).
Once you reach the end, carefully tuck them under the braid and shape them into a round, joining both the ends.
Place it carefully on to a baking tray lined with baking paper, cover with the same cling film, and leave it to rise in a warm place for another hour or two. I did the same oven method.

When ready to bake, pre heat the oven to 175C.
Mix the egg yolk with some egg white and 1/2 tbsp water and brush over the risen challah, generously and making sure you don't miss the cracks and sides of the loaf.
Bake for about 25 to 30 minutes, rotating the pan half way through for even cooking.
The loaf is done when it turns a golden brown colour.
take it out of the oven and leave to cool on a rack for about 10 minutes, after which you can slice, spread some butter or jam and have it warm.
IMG_8892
Notes: The recipe can easily be doubled.
The dough is slightly sticky, so I had to use a generous amount of flour on the work surface while rolling out the rope.
The bread stayed absolutely fine for a week in the bread bin. I wrapped it in some aluminium foil and placed it in.

With thanks to Garden Trading for sending me a bread bin to review.