Showing posts with label vegetarian. Show all posts

Saturday, 10 March 2018

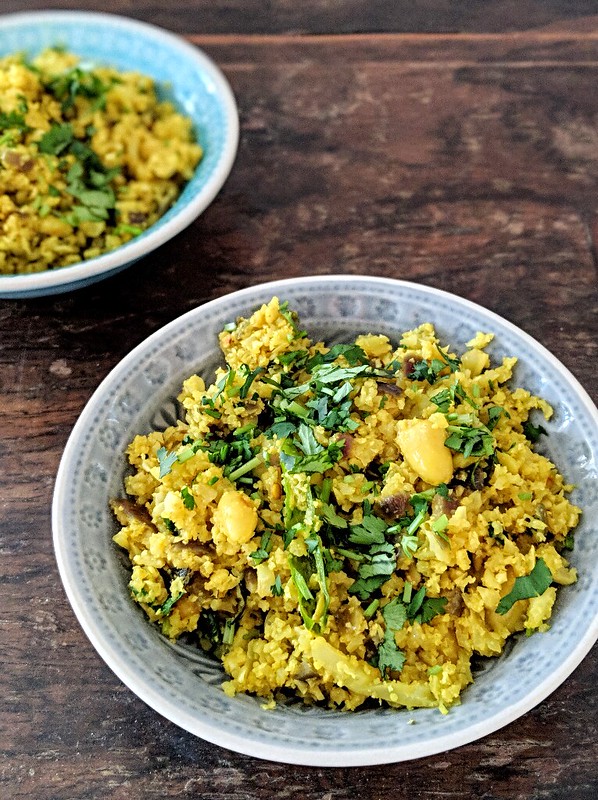
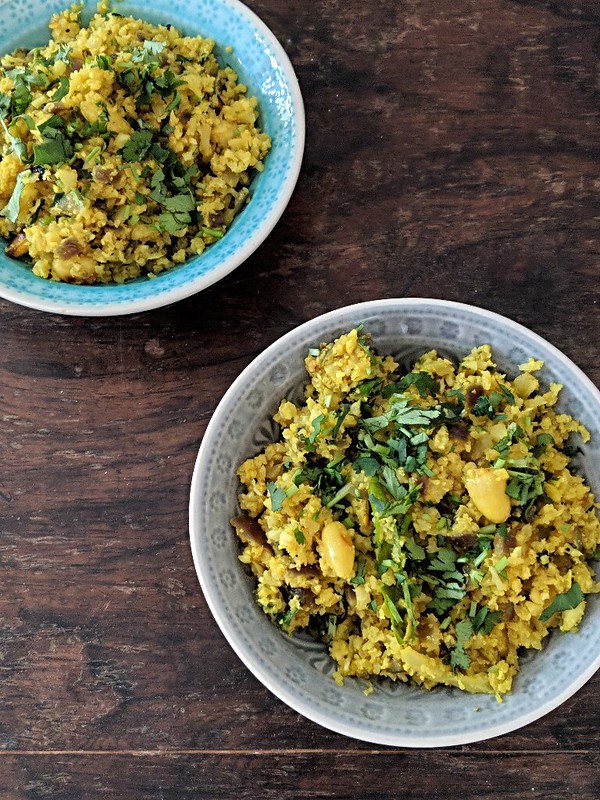
Cauliflower poha (Low-carb, KETO recipe)

Recipe adapted from here
fafe4c7a-2eaa-4874-b33c-15646bf515df 
Cauliflower rice- 300 gms, one medium head of cauliflower 
Peanuts- skinless, around 3 tbsp

To cook
Ghee- 1 tbsp
Mustard seeds- 1/2 tsp
Dried red chilli- 1
Curry leaves- 1 large sprig
Onion- 1 medium size, finely diced
Ginger- 1 tsp (optional)
Green chilli- 1 small (adjust according to heat)
Turmeric powder- 1/2 tsp
Salt-- to taste
Coriander leaves- to garnish
562c4b1a-95a3-44d5-9f01-9312fe41f567
Slice the cauliflower into big chunks and use a food processor or grater to mince them to resemble fine rice or couscous.
In a large frying pan, dry roast the peanuts to a golden brown. Keep aside.

Into the same frying pan, melt the ghee and once hot throw in the mustard seeds.
Once they crackle, add the dried red chilli and curry leaves and saute for a few seconds.
Add the onions, ginger, green chilli and turmeric, season with some salt and cook for a few minutes, till the onions become soft.
Tip in the peanuts and give a good mix.
Finally, add the minced cauliflower, and mix it all together.
Season with salt, add a dash of water, and cover and cook on medium heat for about 5 to 6 minutes.
Keep checking in between and give a mix so that it doesn't stick to the pan.
Once the cauliflower is cooked, remove from heat and generously garnish with coriander leaves,
Mix before serving
I served this with Sri Lankan egg curry

Monday, 11 July 2016

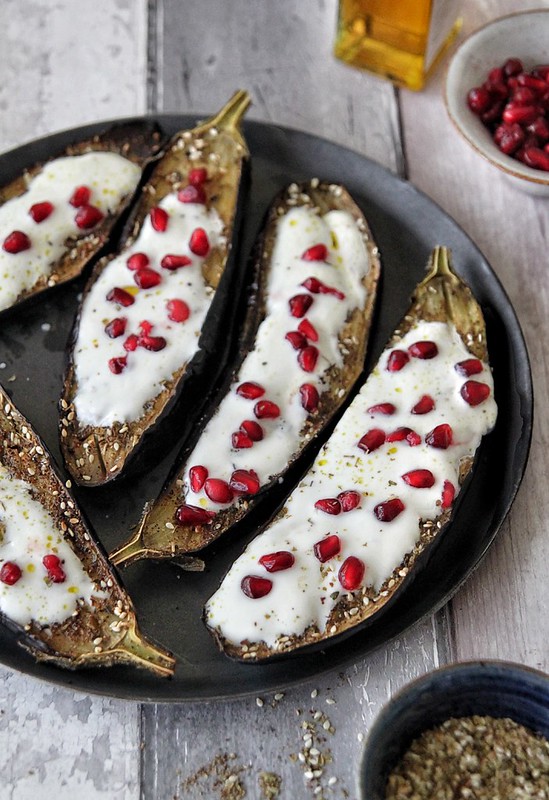
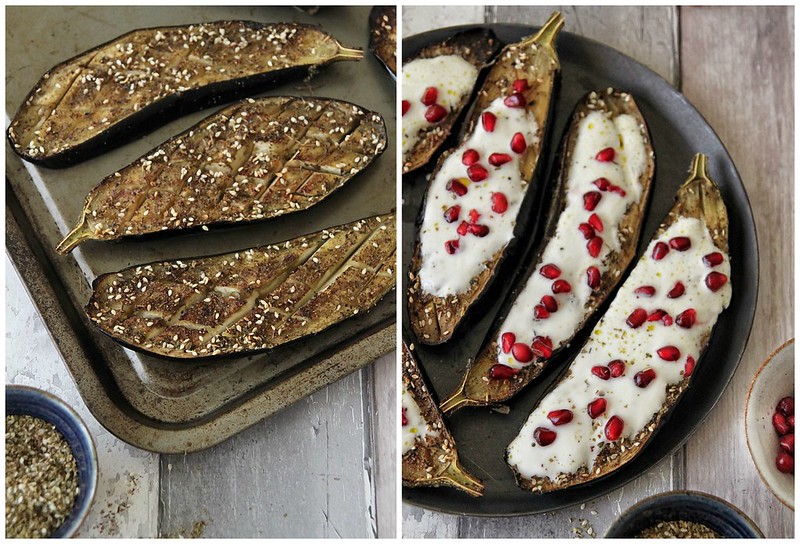
Roasted aubergine and yoghurt sauce

IMG_9336 
I am a big Ottoleghi fan and though not much of a vegetarian food fan (only because i really am rubbish at cooking anything vegetable based, and making them taste good), whenever i go to his restaurant I always opt for the salad selection as they are seriously good. It was during one of those visits that i came across this aubergine and yoghurt combination which i absolutely loved and have been making at home ever since. A grilled chicken slice and this aubergine and yoghurt side is like the perfect summer lunch combo.

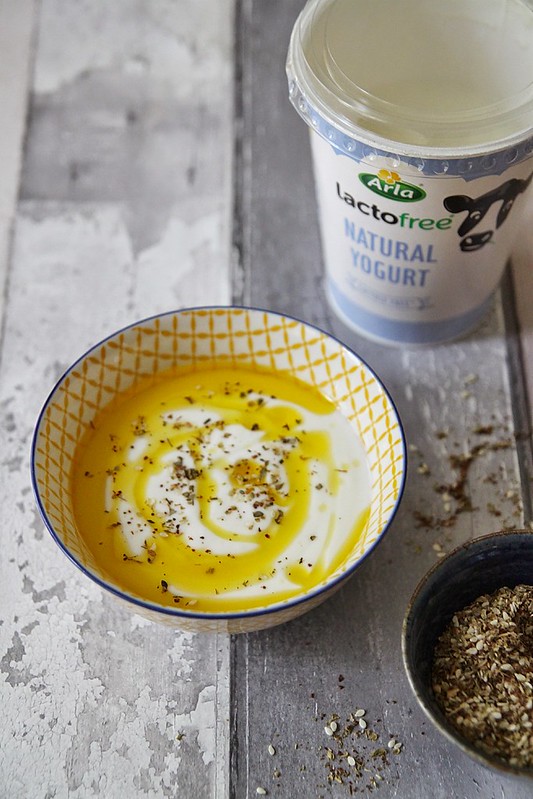
The yoghurt i used for this recipe is the Natural Yoghurt from Lactofree which is equally creamy and as flavourful as any other yoghurt. You wouldnt realise its Lactose-free and I've used it quite a few ways- as a dip, salad dressing, marinade,and my favourite, baking my French yoghurt cake. Results have been great so far and ive already suggested it to a friend whose daughter is lactose intolerant. Its great that brands like Lactofree are introducing more and more products for those with food intolerances and it makes life so much more nicer, they get to eat yoghurt! 

Recipe is super duper easy, and the use of Za'atar makes it just even more delectable. Just sprinkling some of this glorious Middle Eastern spice on to yoghurt and serving as a side to anything can do the trick. 

Recipe adapted from here, originally from Plenty by Yotam Ottolenghi (serves 4 as a side)
IMG_9314 
Aubergine/ Egg plant- 2 large
Good quality olive oil- 1/4 cup
Thyme leaves- 1 tsp (I used dried ones)
Za'atar spice- 1 tsp
Salt and pepper- to season

Yoghurt- 1/2 cup
Olive oil- 1 tbsp plus enough to drizzle
Garlic- 1 small clove, finely grated
Za'atar- 1/4 tsp
Salt- to taste
Pomegranate seeds- 4 tbsp
PicMonkey Collage
Preheat oven to 200C and line a baking tray with baking paper.
Slice the aubergines in half, lengthwise, and using a sharp knife make incisions on the cut side, without going through the skin. 
Place on the baking tray and generously brush in the olive oil.
Sprinkle the thyme leaves, za'atar spice, salt and pepper and chuck into the oven for about 30 to 40 minutes or till the flesh is soft, roasted and completely cooked.

While the aubergines are in the oven, get the yoghurt sauce ready.
Just whisk together the yoghurt, olive oil, za'atar and salt in a bowl and keep refrigerated till ready to use.

Take the aubergines out of the oven, transfer to a serving plate and scoop generous amounts of yoghurt on top of them. 
Finish off with the pomegranate seeds and serve as a side to cous cous or grilled meat or fish.

With thanks to Lactofree for the yoghurt.

Sunday, 23 June 2013

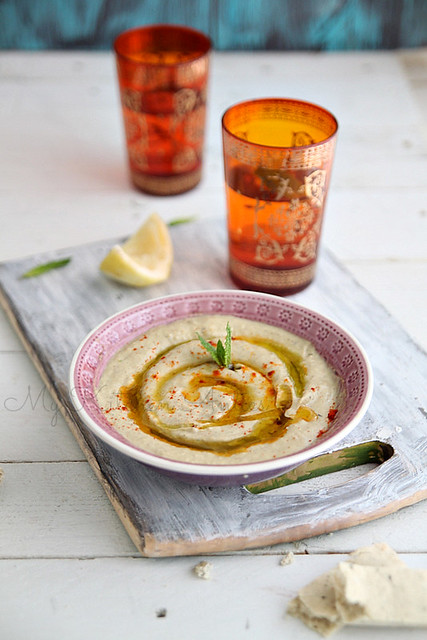
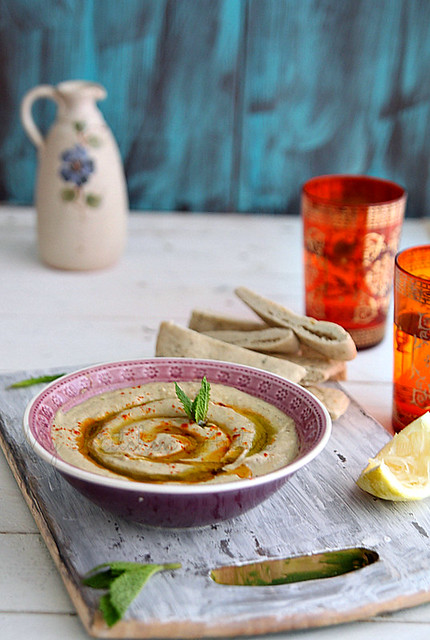
Baba ghanoush (Moutabel)

IMG_9237
Let me say this over and over again. The best part about blogging are the friends you make in the process. Friends who have now become such an essential part of your life, that even if you stop blogging, they wont just disappear. I have been lucky enough to meet some of the UK-based food bloggers and most of us try and catch up once in a while.

Last week, Suchi of Kitchen Karma invited Manjiri (Slice off me) and me over to her place and we had such a blast. She'd made a Mediterranean spread for lunch and everything tasted fab. The baba ganoush she'd made from scratch was the winner for me, closely followed by the Moroccan braised chicken. Got the recipe links from her the next day and made myself a Mediterranean feast for dinner :)

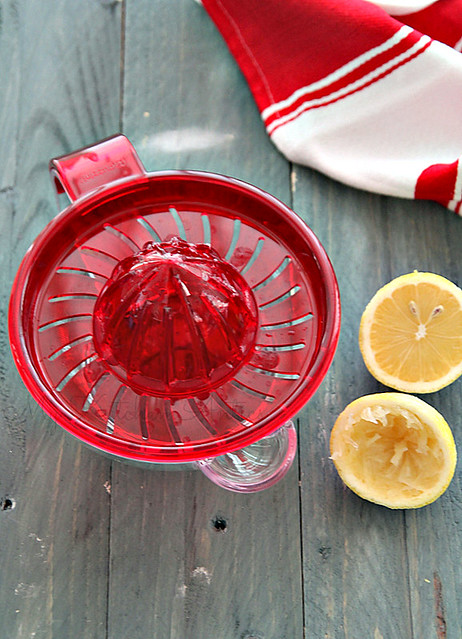
I am a big fan of Mediterranean food. In fact, a breakfast staple for us is hummus and toast. But I've never really tried making any of this at home, simply because I thought I'd never get the taste spot on. Suchi totally inspired me to give it a go at home and I'm surprised at how a few common ingredients prepared in a different way bring about awesome flavours. Talking of which, I recently got myself a citrus juicer from this really cool online store called Red Candy. Yes, all these years I was painstakingly squeezing limes and lemons and oranges, till the gorgeous red coloured beauty made an appearance. I love it to bits and its made my life so much easier. Previously I used to waste a lot of the juice, but now (like for example in Mediterranean cooking, a lot of lemon juice is used), I squeeze the heck out of the fruit and it gives me immense pleasure :)
IMG_9200
The really cool thing about the store is that it is dedicated to the colour red. Be it home furnishing, interior accessories, kitchen stuff or gifts, red is the colour you'll get them in. They have some really innovative products and designs and some of them make really cool gifts. I got myself the citrus juicer, the pretty red and white tea towel and a nice churn jug. Hint: you know where to go for your Valentines day gifts right??? :)

Back to the recipe...To be honest, I had no idea baba ganoush and moutabel were the same thing. Its one of those dishes we religiously order at our favourite restaurant on Edgware Road, and till now thought it was a complicated recipe with speciality ingredients. Well, I couldn't be more wrong. The only ingredient I actually had to buy was the Tahini paste, which is now easily available in all the grocery stores. If it wasn't for my flat glass hob I would have charred the aubergine on fire and would have taken only half the time. Not complaining! It was yum and Ro is so thrilled I made food from his second favourite cuisine in the world (first being Chinese, no kidding!).

Recipe adapted from here 
IMG_9245
Aubergines- 3 large, cut in half lengthwise
Garlic- 4 cloves (read notes)
Lemon juice- from one small lemon
Tahini paste- 3 tbsp 
Olive oil- 3 tbsp
Pepper- two grinds (around 1/4 tsp)
Salt- to taste
Chilli powder- to sprinkle (optional)
IMG_9219
Preheat the grill/ broiler and line a baking tray with silver foil.
Pierce the aubergine halves with a fork, rub them with about a tsp of olive oil all over and place them, cut side down, on the baking tray.
Place the tray on the top most rack (closest to the broiler) and cook for about 30 minutes or till the aubergines are charred nicely on the outside. Keep checking half way through to avoid burning.
Once done, remove them carefully from the tray and chuck into a zip lock bag and zip it up. Keep aside for about 15 minutes, so that the aubergines can steam in their skins.

Scoop out the flesh from the charred skin (it comes off easily) and place in a bowl. 
Add the garlic, lemon juice, tahini, 2 tbsp olive oil and salt and pepper and pulse using an immersion blender or just whisk vigorously using a fork till they all come together.
Transfer the goodness into a serving bowl, swirl the remaining olive oil on top, sprinkle the chilli powder and serve with pita bread, vegetable sticks, bread or even tortilla crisps.
IMG_9224
Notes: The original recipe called for only 2 cloves of garlic, but i had 4 peeled ones lying around and used that. Bad idea, as it was very garlicky. Id stick to two the next time.
I don't like chunky pieces of aubergine in my dip, so I blended it to a smooth consistency. Feel free to leave some of the texture in your dip by just mashing it with a fork.
You can also char the aubergines in the oven. Follow the above prep. methods but instead of grilling just bake them in an oven preheated at 200C for about 40 minutes.

With thanks to Red Candy for sending me the red props to review :)

Wednesday, 4 January 2012

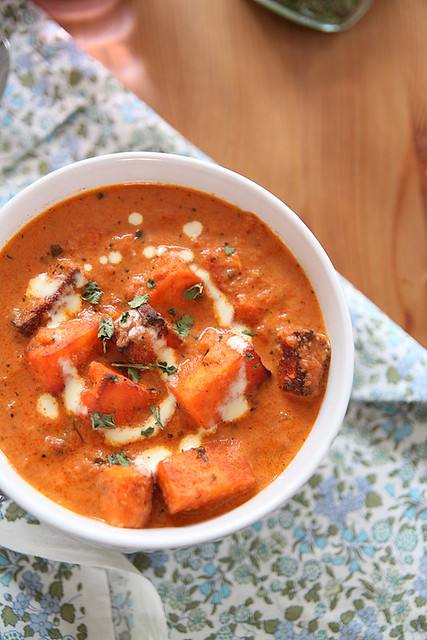
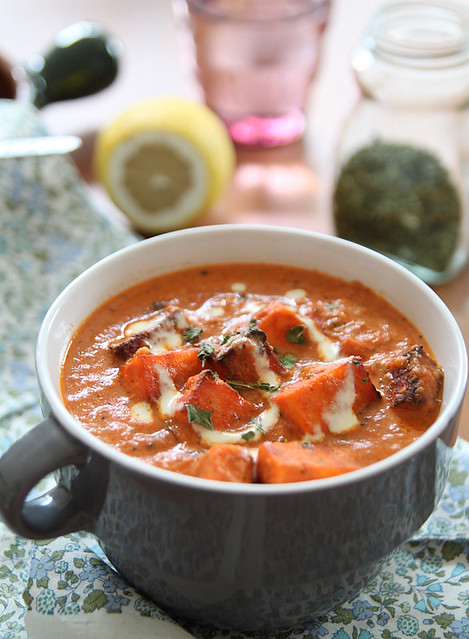
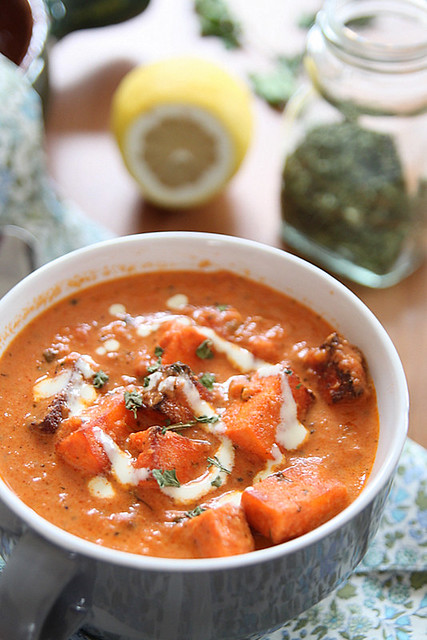
Paneer tikka masala

IMG_6900
...is such a popular dish here in UK, it puts me to shame. I mean at least the ones I have tasted are so goddamn horrible, I have no idea how people eat it assuming its one of the most awesomest Indian dishes to date. I tried it at a restaurant once and it was so sweet and horrible, I don't even want to describe how the store bought ones tasted.

See, when I first came UK 4 years back, for one whole year, we survived on store bought ready meals and such and since the tikka masala's looked popular here, I used to quench my poor Indian palate with those pathetic store bought tikka masala preparations and each time I swore never to buy it again.

It was only recently I made myself a batch of the paneer tikka masala at home and realised it was actually so so so much more different and better than the restaurant/ store bought ones. I'm sure the authentic Indian restaurants will do justice, but I've had terrible bad luck with take always and never again will I buy this.

That said, making it is no easy feat. Its time consuming and messy, not to mention highly unhealthy. But once in a while I guess its ok to indulge (although I notice, this once-in-a-while is becoming a little too often), so go ahead and make this. Its fabulous with parathas and naan.
IMG_6906
Recipe adapted from here and here
For marinade
Paneer- 200- 220 gms (around 2-21/2 cups), cut into cubes
Greek yoghurt- 3 tbsp
Chilli powder- 1/2 tsp
Ginger paste- 1/2 tbsp
Garlic paste- 1/2 tbsp
Tandoori masala- 1 tsp (optional)
Kasoori methi (dried fenugreek leaves)- 1/2 tsp, crushed
Lime juice- a few splashes
Salt- to taste
IMG_6931
For the sauce
Ginger paste- 1/2 tbsp
Garlic paste- 1/2 tbsp
Tomato purée- 1 cup
Kashmiri chilli powder- 1 tsp
Coriander powder- 1 tsp
Garam masala- 1/2 tsp
Kasoori methi- 1 tsp, crushed
Single pouring cream- around 1/4 cup
Sugar- 1/2 tsp
Oil- 1/2 tbsp
Water- 1 cup
Salt- to taste
Coriander leaves- 2 tbsp (optional)
IMG_6893
If the paneer is store bought, then cut them into cubes and pour some hot water over. Keep aside for a couple of minutes and then drain to get soft, clean paneer.
Marinate the paneer with all the ingredients under the 'to marinate' section and keep aside for 1/2 an hour.
When ready to use, preheat the oven to about 200C.
Line a baking tray with aluminium foil and layer the paneer on it.
Bake for about 5 minutes on each side and then turn the grill mode and broil on high for about 3 to 4 minutes on each side, to get a charred effect.
Remove from the tray and keep aside.
In a large saucepan heat the oil and add the ginger and garlic paste. Cover to avoid spluttering all over the place.
Add the tomato puree and cook, stirring in between, for about 5 minutes
In goes the chilli powder and coriander powder, stir it in a cook further, till you start noticing the oil separate.
Add half the water, stir and bring to a gentle boil.
Reduce heat and add the sugar and kasoori methi. Stir it in and cook for a couple of minutes
Finally slide in the paneer tikka and garam masala and stir to cover the paneer pieces with all the gravy.
Add about 1/2 cup more of water, stir well and cook for another 5 to 6 minutes. Check for salt, add if required.
Just before taking it off the flame, reduce heat and stir in the cream.
Garnish with coriander leaves and serve hot.
IMG_6879
Notes: Replace paneer with chicken, voila..chicken tikka masala :)
I am thinking, there are so many ways of making this, but this clicked for us and we loved it

Tuesday, 6 July 2010

Sun-dried-tomato buns with a hint of garlic and parsley

I feel like its been ages since I penned down something here. I have just been plain lazy and haven't been doing anything worth blogging about. Even cooking has taken a back seat, for some strange reason and its an effort for me to actually make something even if its only dinner, and styling it and taking pics afterwards make me loathe it even more.
Summer is here in full swing and even though some days are a bit windy, I can still go out in flip flops and not shiver my way back. Dinners at friends' places and relatives visiting us has left us with little or no time on weekends. And with the World cup matches, Ro refuses to budge from in front of the TV. These savoury buns dipped in hot English or Irish stew was perfect for one of those Saturday lunch sessions especially if you have made the buns a day before and stored in an air tight container. The the stew would take no time to prepare if you have a pressure cooker, oh and if you buy the casserole veggies and beef, all cleaned and diced, from the super market...yup laziness personified... that's me :)

White bread flour- 425 gms (I used Hovis)
Salt- 1 tsp
Baking yeast- 7 gms
Warm water- 325 gms

Sun dried tomatoes in oil- 50gms, chopped and drained (more or less according to your taste)
Garlic cloves- 4, finely chopped
Chopped, flat leaf parsley- a handful + enough to decorate
Pepper powder- to taste
Melted butter- a few teaspoons, just enough to wash the buns

Mix the bread flour, salt and yeast along with water in a bowl of a free standing mixer.
Add the tomatoes, garlic cloves, chopped parsley, salt and pepper and knead on medium speed with a dough hook attachment on your mixer, or drizzle some flour on to a clean kitchen surface and knead with your hands, till the dough is smooth and elastic.
Cover and keep in a warm place (I placed it inside my oven) for about 2 hrs or till the dough doubles in size.
Take it out, punch out the air and give it a light knead.
Shape them into tennis-ball sized rolls or even smaller if you please, and place them on a tray lined with baking paper.
Make small indentations on the buns and place a flat leaf parsley for decoration (Creativity flows in abundance when I'm in the mood)
Brush melted butter on top of each bun and leave it aside for 30 minutes, till the dough rises a bit more (you can avoid this step if you are running out of time, I guess).
Place in a pre-heated oven (200C) for 30 to 35 minutes or until golden brown.
Serve hot with some spicy beef stew (Do check out the recipe here) or if you want to have it the next day, store in an air tight container and just before serving, place in a pre-heated oven for about 8 to 10 minutes, or steam for a few minutes and you would get soft buns.
Notes: You can also substitute bread flour with plain flour or wholemeal flour.
Parsley can be replaced with oregano or rosemary sprigs.
Add some grated Parmesan cheese while kneading for a cheesy flavour and some dried red chillies for the spice.
The butter wash can be done about 10 minutes before you take the buns out of the oven as well, in case you forgot to do it before, or can be avoided altogether.
If you are the super duper lazy ones like me, then buy the bread mix (you just have to add water and butter) itself from the super market and follow the directions on the cover and add the ingredients starting from sun dried tomato for that added flavour.