The weather has been brilliant the past couple of days and its (almost) like summer is round the corner. I saw the first few daffodils outside my apartment today and almost jumped up in joy. Even if its not bright and sunny, the temperature sure is in double digits and the winds are bearable. Anything to not go out in layers of clothing is a big relief for me. That said, I'm pretty bummed I couldn't wear my uber cool Coccinelle gloves enough.
So on one of those really good weather days, I was in a mood to cook. Like really, painstakingly make things from scratch. These kinda moods pass by soon, so before it did I became proactive and decided to make poori's. Now, people who know me, know my phobia about kneading, rolling and deep frying. I was willing to forego all that and made a tremendous attempt to make round-like poori's. The optimism was too good to be true, so after the first few, it was back to shapeless ones. But I decided it was high time I jotted down a poori recipe for days like these, where I didn't have to exhaust myself doing google searches for exact water measurements etc.

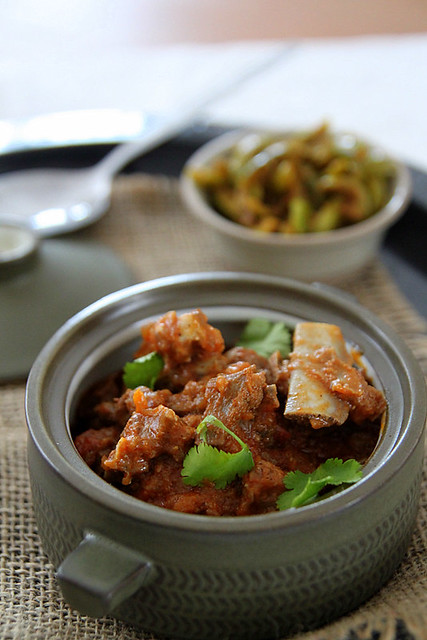
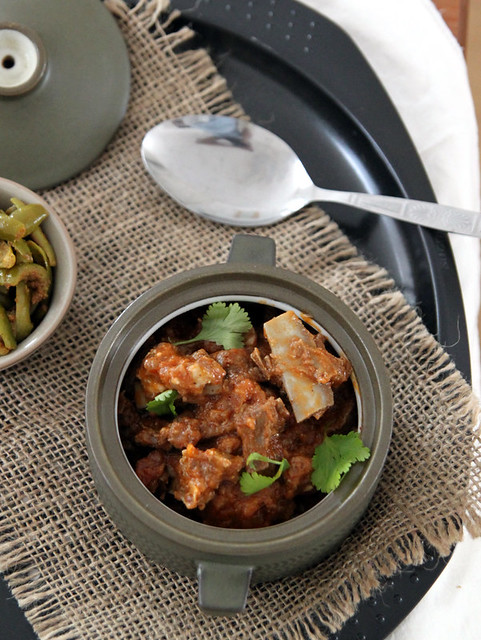
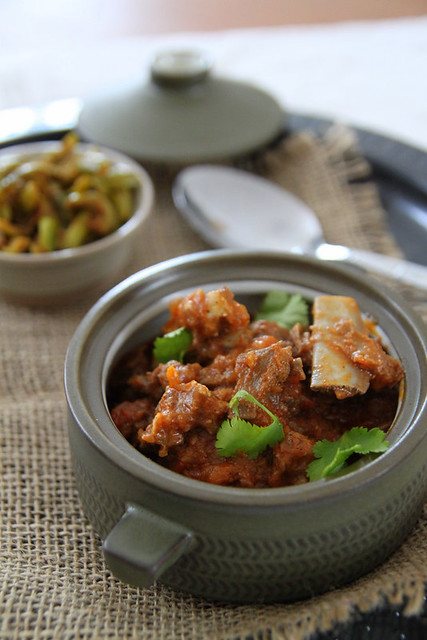
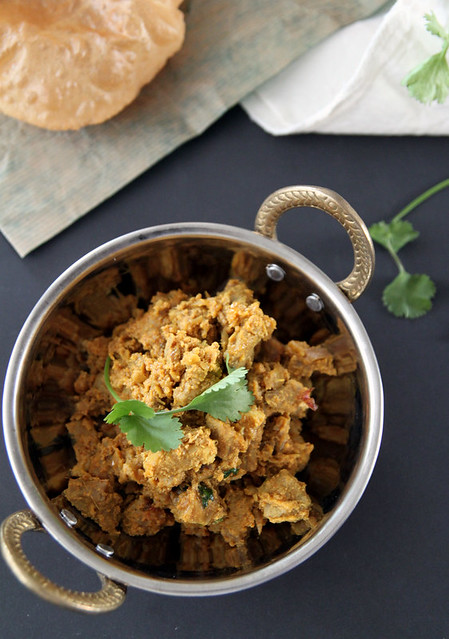
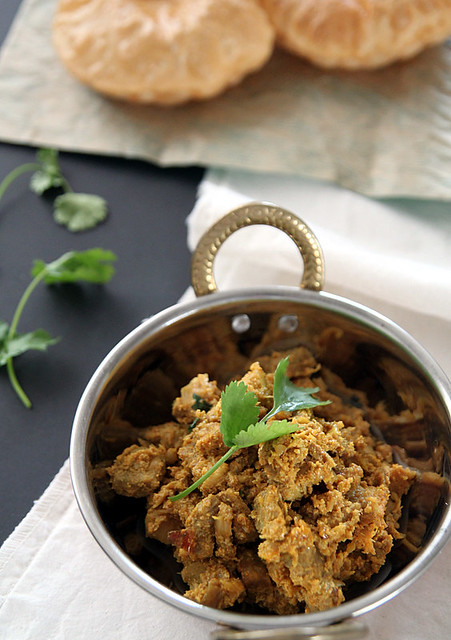
To go with it, my initial plan was to make the usual potato masala. But that's what I'd do on a lazy day. It was a proactive day instead and so I made pork tikka masala. Now, its not one of those authentic tikka masala recipes, but kinda nice and easy in comparison. Its a slow cooker recipe and I didn't have the time for that and hence used the ever helpful pressure cooker for the same. I'm sure taste-wise, the slow cooker version would have been better, but it served my purpose and tasted great with hot poori's.
Poori (Indian fried bread)- recipe adapted from here (makes 12 medium sized ones)
Chapati flour (atta)- 1 1/2 cups
Salt- 1/4 tsp
Oil- 1 tbsp + enough for deep frying
Warm water- 1/2 cup

In a large bowl mix together the flour and salt.
Rub in the oil as evenly as possible.
Add the warm water bit by bit and bring the flour together.
Knead for a couple of minutes till the dough becomes pliable.
Brush some oil on it, cover with a wet towel and let it rest for about half an hour (or 10 minutes)
When ready to roll, heat enough oil in a pan. Keep the fire on medium heat and wait for it to reach the right temperature.
Knead the dough once more and make 12 golf-ball size balls out of it.
Roll out each ball into a disc, not as thin as a chapati, and keep ready.
Pint a tiny piece of dough and drop into the oil. If its the right temperature, it would immediately float to the top.
Slowly slide in one rolled out disc. When it floats to the top, lightly press it with a ladle, allowing it to puff up.
Roll over and fry the other side similarly.
When it becomes golden brown, take it off the oil, let it drip out the oil and drain on paper towels. Repeat the same with the remaining dough.
Pork (tikka) masala- recipe adapted from here
Turmeric powder-1/2 tsp
Cumin powder- 1 tsp
Coriander powder- 1 tsp
Chilli powder- 1 tsp
Garam masala- 1/2 tbsp
Coriander leaves- 2 tbsp, roughly chopped
Oil- 2 tbsp
Water- 1/2 cup
Salt- to taste
Marinade
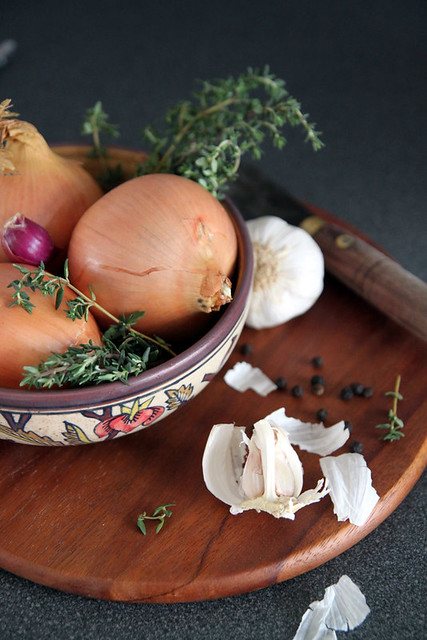
Onions- 2 large
Garlic- 8 cloves
Ginger- 2 inch piece, peeled, roughed sliced
Plain yoghurt- 1/2 cup
Chilli powder- 1 tsp
Salt- to taste

Make a paste out of the all the ingredients listed under the marinade section.
Place the diced pork into a large bowl and pour half of the marinade over it. Reserve the other half.
Mix well, cover and leave aside for at least 30 minutes.
When ready to cook, place the marinated pork and water in a pressure cooker and cook till the pork is tender, still holding its shape, about 15 minutes.
Once the pressure subsides, open the lid and if there is a significant amount of water, place it back on medium-high heat and allow most of the liquid to evaporate.
Once that's done, heat oil in a large heavy bottomed pan and add the reserved half of onion paste.
Cook till it turns a light brown, about 10 to 12 minutes on medium heat.
Stir in the cooked pork along with all the masala/gravy and cook on high for a couple of minutes, stirring well.
Then, reduce flame to medium and add turmeric, cumin, coriander and chilli powder and stir fry till the meat turns darker in colour.
Once you see the oil releasing the sides, sprinkle garam masala, give a final stir and take it off the flame.
Keep covered, and just before serving, sprinkle coriander leaves.
I didn't dry out the pork too much as I wanted it to be a semi-gravy-like consistency for the poori's
You can cook the pork in the pressure cooker for up to 24 hours in advance and do the last bit before you serve.
You can also freeze the dish once completely cooled. Just leave it out at room temperature to thaw and maybe sauté it in a little oil before serving.