Showing posts with label chicken ularthu. Show all posts

Saturday, 25 March 2017

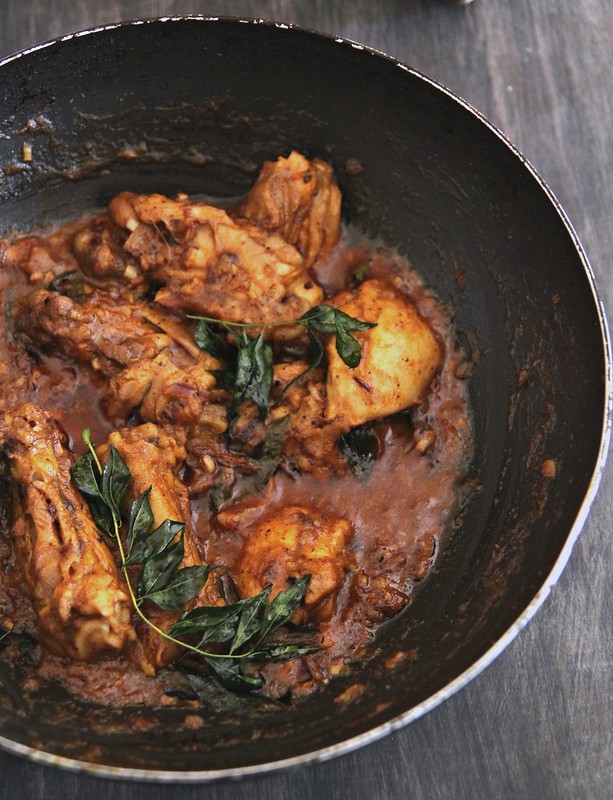
Kerala Kozhi peralan

IMG_3495  
There are loads of ways to do the quintessential Kerala chicken peralan (a semi gravy of sorts), but i find this method the easiest. Sure its not a one pot prep, but a really quick one with the aid of pressure cooker. 

Serves 2 as part of main meal (Recipe loosely adapted from The Suriani Kitchen by Lathika George)
Chicken- 500 gms (Bone in pieces. Here I've used chicken thighs)

To marinate
Chilli powder- 1/2 tsp
Coriander powder- 1/2 tbsp
Turmeric powder- 1/4 tsp
Pepper powder- 1/4 tsp
Ginger garlic paste- 1/2 tsp
Lime juice- 1/2 tsp
Salt- to taste
Curry leaves- a sprig

Oil- 2 tbsp
Curry leaves- a sprig
Onion- 1 medium, finely chopped
Garlic- 4 pods, finely chopped
Tomato- 1 small, finely chopped
Thick coconut milk- 1/4 cup
Garam masala- 1/4 tsp
Pepper powder- 1/4 tsp
e8746935-c7fd-4981-acec-e51a65f5a87e
Marinate the chicken with all the ingredients under the marinate section for about half an hour.
When ready to cook, transfer to a pressure cooker , add a sprig of curry leaves and 1/2 cup water and cook on medium heat for about 15 minutes. 
You basically pre-cook the chicken till done (its also OK if its not completely cooked, as you can finish off the cooking in the next few steps, but it would help cut down on time significantly if the chicken is fully cooked).
Open the cooker lid once the pressure has released and keep aside. There should be about 1/2+ cup of gravy in the cooker. 

In a large frying pan, heat the oil and fry the curry leaves for a couple of seconds.
Into it add the onion and garlic and continue cooking till the onion has wilted and turns golden brown.
Toss in the tomato and cook till the oils start to surface.
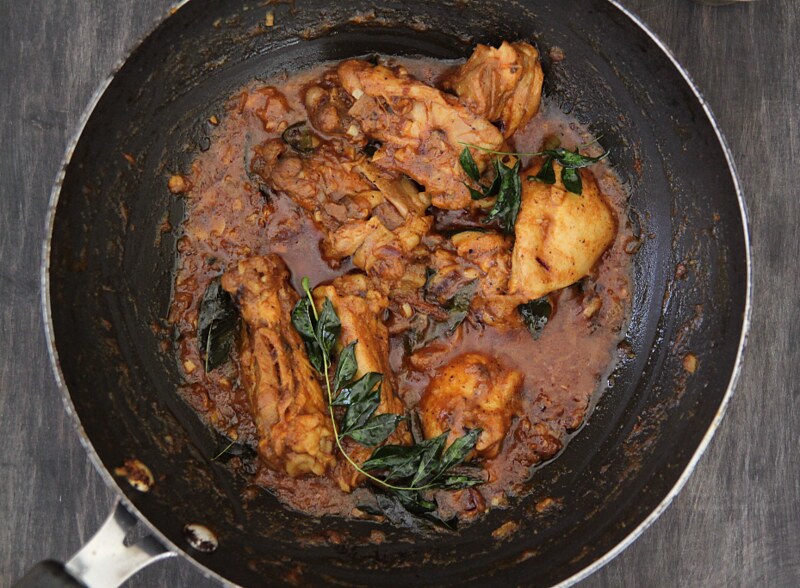
Pour in the gravy from the chicken along with the coconut milk and bring to a good boil. If you do think the gravy is too much, then cook to almost 1/2 a cup and then only add the chicken.
Once it becomes thick, like it coats the back of a spoon consistency, add the cooked chicken and mix it all well. 
Cook for a further 5 to 7 minutes, or till the gravy completely coats the chicken pieces. Keep doing this on medium heat without the gravy getting burnt or stuck to the base of the pan. If you feel the chicken hasn't been completely cooked in the pressure cooker, then of course keep cooking till its done at this point.
Sprinkle the garam masala and freshly ground black pepper, give one final stir, and take it off the heat.
Cover and keep till ready to serve.
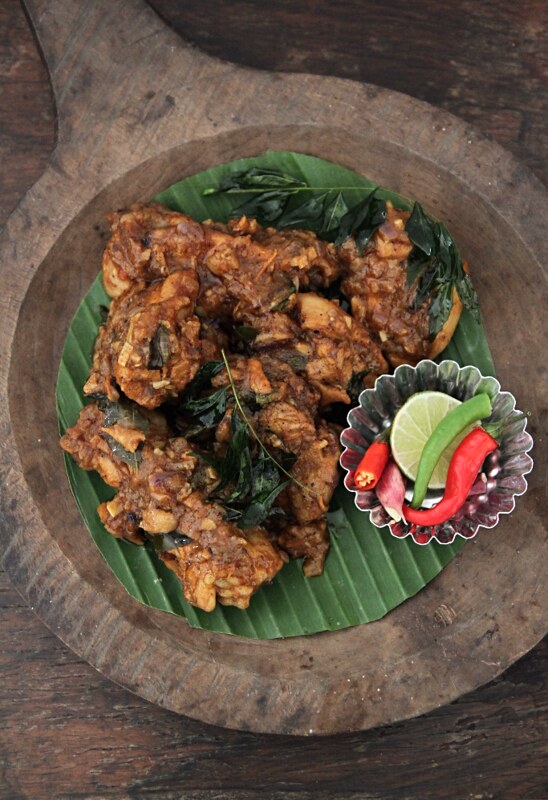
This chicken preparation is best with steamed rice, thoran and parippu curry.
995b938f-e64b-4872-81f5-6cac6e0047c5
Notes: You can of course do the entire prep in the frying pan without precooking the chicken. Add the chicken after the tomato along cook till done. Then add the coconut milk and cook till the you get the semi gravy consistency. 
This dish doesn't have a lot of gravy and so best had with a gravy accompaniment.
That said, if you did want a little more gravy, then don't dry off almost all of the liquid, but keep enough to use as gravy. You can add more coconut milk also to get a thick gravy.

Tuesday, 11 August 2009

Chicken Ularthu/fry - mommy style


My mom's a good cook. She can easily cook her way to success when she has guests around and is quite innovative with new recipes and the like. But just like me, cooking is not her favourite past time. Both of us do it, cos we have to do it and not because we love it. She, being in India has a good amount of help in the kitchen and supervision is all that is required. I, in another continent altogether, has no help (other than Ro of course..who is more like a pain in the ass if we are both cooking together) and has no choice but to whip up dishes on my own to survive.
One preparation that i am particularly fond of hers is the Chicken ularthu which is in fact the first ever dish i made back in Chennai, once when Asha beevi was on a sabbatical for a week and we had used up all the cooked/frozen food in the fridge. After we made this for the first time i was secretly relieved that i would never have to touch raw chicken again. Little did i know that a few months after i would be slaving (ok, im exaggerating a bit here..but I'm a drama queen, so a little of that wouldn't hurt) away in the kitchen in cold, windy, raining UK!
This chicken recipe has come in handy quite a number of times and is incredibly tasty, of course much tastier when you don't have to make it and then wash and clean up afterwards.

Chicken- 1/2 kg, cut relatively small
Small onions/shallots- 1/2 cup
Tomato- 1 (optional)
Ginger garlic paste- 2 tsp
Chilli pwd- 1 tsp (or according to your taste)
Turmeric pwd- 1/4 tsp
Coriander pwd- 1 tbs
Pepper pwd- 1/2 tsp
Garam masala- 1/2 tsp
Green chilli- 1, slit lengthwise
Curry leaves- a sprig
Oil- 3 tbs
Salt- To taste

In a heavy bottomed pan, heat 2 tbs oil and sautee small onions, green chilli and Ggp till nice and soft. To this add the tomatoes and all the powders including salt and cook well on low heat till oil starts separating. Add the cleaned chicken pieces and mix well. Make sure the pieces are well coated with the masala and do not add any water. Keep cooking on low heat and when the gravy reduces in volume to about 1/4th, take off the flame. At this stage you can also cool and freeze this in a zip lock bag and as and when required, you can do the next stage.
Pour the remaining oil in the frying pan, throw in some curry leaves and on low fire, fry till the chicken pieces become dark. You can also add some chopped big onions to enhance the taste.

Notes: You can actually omit the small onions bit in the beginning and straight away cook the chicken with all the powders on low heat and then at the frying stage add the onions.
The whole cooking should be done on low heat.