Showing posts with label cast iron cooking. Show all posts

Wednesday, 22 February 2017

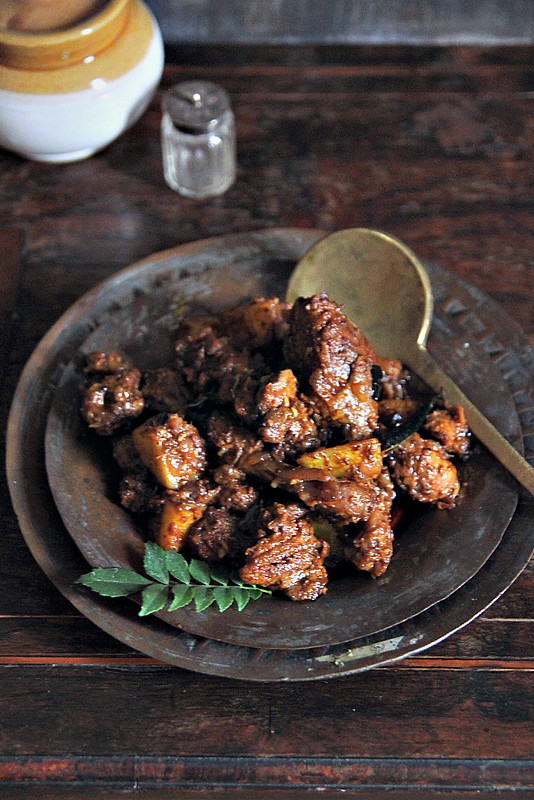
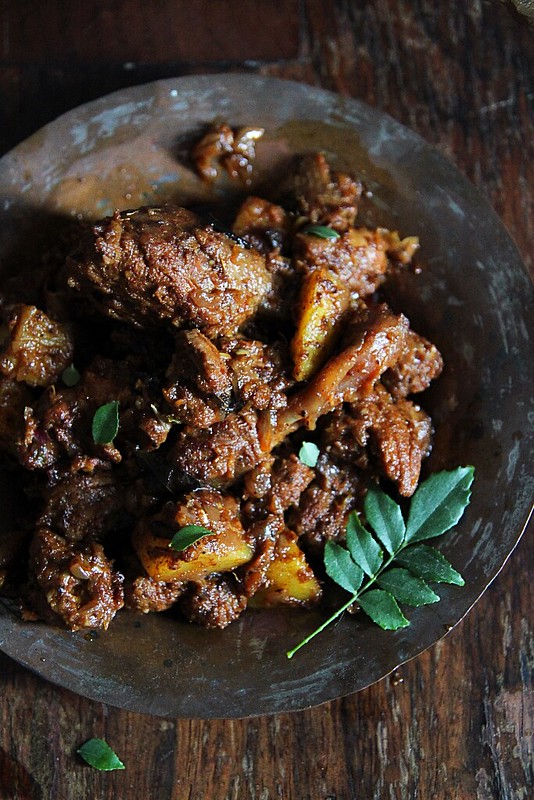
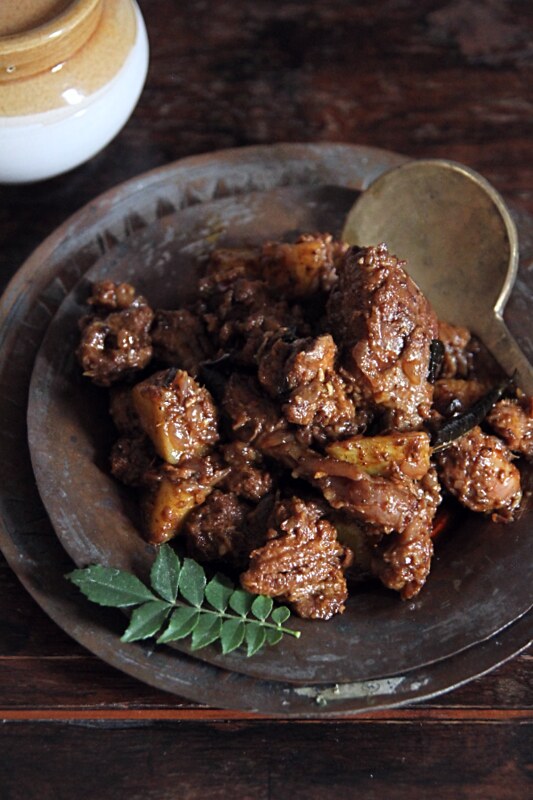
Kerala duck roast

3ac4bc99-41eb-4950-8b50-1e571da58666 
Serves 3 as a side (Recipe loosely adapted from Flavours of the Spice Coast by Mrs. K M Mathew)
Duck legs and thighs- 500 gms (with skin on)

To marinate and pre-cook
Coriander powder- 1/2 tsp
Chilli powder- 1 tsp
Turmeric powder- 1/4 tsp
Ground pepper- 1/2 tsp
Fennel seeds- 1/4 tsp
Cinnamon- 1 inch 
Cloves- 4
Cardamom pods- 2
Vinegar- 1/2 tbsp
Ginger- 1 inch piece, peeled and roughly chopped
Garlic- 4 pods, peeled and roughly chopped
Salt

For the roast masala
Oil- 1 tbsp (coconut oil is ideal)
Shallots/ small onion- 1/2 cup, finely chopped
Curry leaves- 1 sprig + a few to sprinkle
Ginger- 1 inch piece, peeled and grated
Garlic- 4, peeled and grated
Green chilly- 1, slit
Chilly powder- 1/2 tsp
Ground black pepper- 1/2 tsp + 1/4 tsp to sprinkle
Coriander powder- 1/2 tsp
Salt- to taste
Potato- 1 large, par boiled and cut into big chunks
Thick coconut milk- 1/4 cup
080a7656-7757-4568-b815-cfbf74dbf47d
*Please do refer notes before you get started.

Grind together all the ingredients under the 'marinate' section. It wont be smooth and paste like, but its ok to add a wee bit of water and make it into a paste like consistency if you prefer that for marination. 
Marinate the duck with the ground mix and keep aside for about half an hour or till you prepare the masala for the roast.

Peel and par boil the potato chunks and keep aside. I did this in the microwave.

When ready to cook, transfer the marinated duck along with 1 cup of water to a pressure cooker and cook for about 15 to 20 minutes.
Wait for the pressure to release on its own. Open the lid, and if there is more than half cup of liquid, put the cooker back on high heat and boil away some of the liquid. You should have a thick gravy.
Keep aside till ready to use.
788f35b3-8ada-4085-a237-e08d9fc8410a
Heat oil in a heavy bottomed pan and sautee the shallots with curry leaves, ginger, garlic and green chillies.
Cook till the onions turn golden brown.
Throw in the chilly, coriander and pepper powder along with salt, and continue sauteeing for a few minutes till the raw smell of the masala disappears. If you think its sticking to the bottom, then add a teaspoon or two of water and mix well.
Pour in the cooked duck meat along with all the juices, and the par boiled potatoes into this mix and on medium heat roast it all together for about 10 minutes, stirring at intervals. Make sure you dont break the meat or the potatoes.
Add the thick coconut milk and continue to roast on low- medium heat till all the gravy sticks to the meat pieces and the oil starts to slowly separate.
Add the 1/4 tsp ground pepper and some fresh curry leaves, give one final mix, switch off heat and cover and keep for about 15 minutes.
Best served with rice, appam, idiappam or porotta.
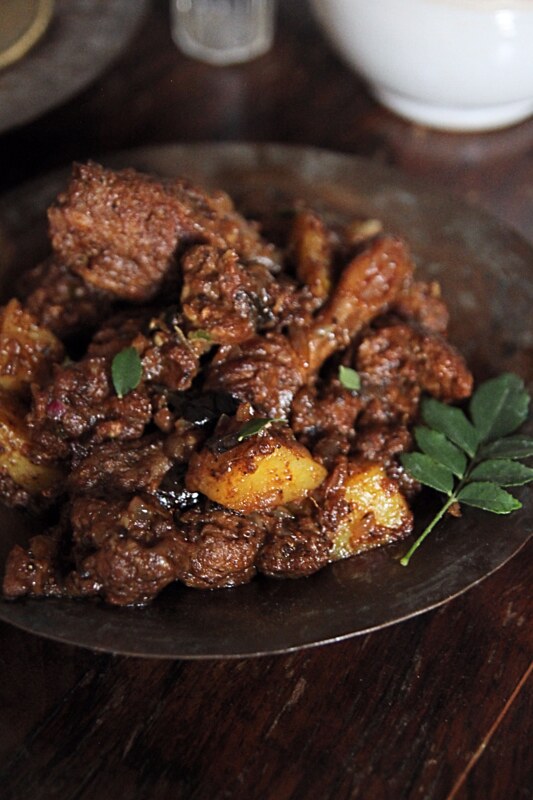
66b21319-5eaa-4fbc-8ac9-85f28f73cee2
Notes: I sliced the leg and thigh pieces into smaller portions and used for this prep.
I was a bit wary of the game-y taste that duck meat usually has and so i washed the pieces in a bit of lime juice and yoghurt, drained and then continued with marination. Of course this step is purely optional.
You can of course slow cook the duck in a heavy bottomed pan, but i pressure cooked it for convenience.
If you are in doubt about the pressure cooker timing, then keep releasing pressure and checking the meat by trying a small piece. If they are not chewy and easily fall off bone consistency you are good to go. If not put it back on and cook for 2 more whistles, check again and proceed. Dont under cook it or else it would be chewy. Over cook it and it shreds. It definitely takes more time than chicken but similar to that of mutton, in terms of cooking times.
For some gravy, add 1 cup water along with the coconut milk, but dont bring to a boil. Continue cooking on medium till the oil gets visible. If after cooking the duck there is enough liquid, then you can use that instead of adding the water with the coconut milk.
Its a roast that is medium spiced. Add one or two chillies more for that authentic spice kick this curry deserves.
I used my Le Creuset cast iron dutch pan for this prep and i cant stress how wonderfully it worked.
Sunday, 12 February 2017

Kerala Tuna thoran

Tuna thoran (serves 4 as part of a main meal)
IMG_20170212_153914

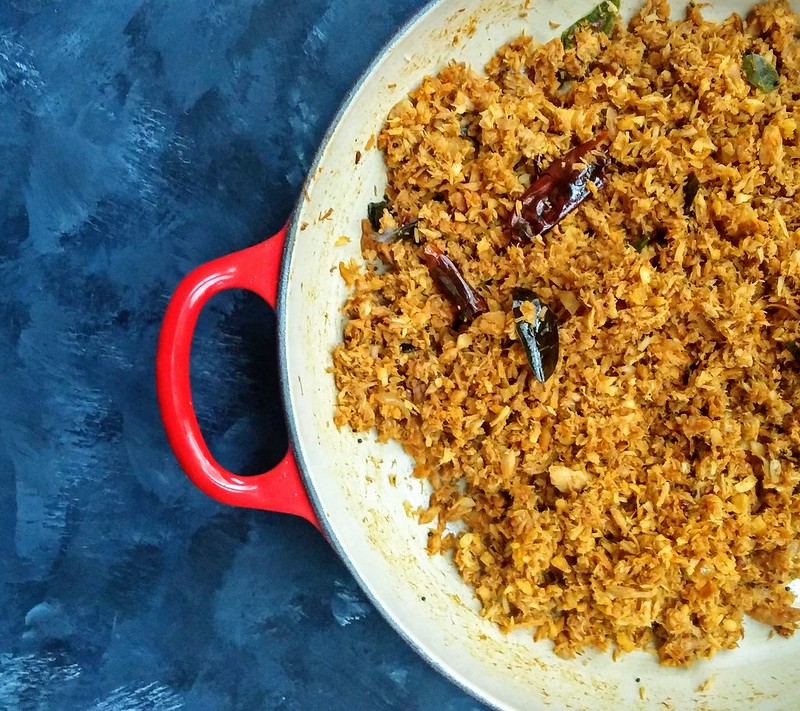
A staple in most of the Kerala households, a thoran is nothing but a vegtable of choice cooked with basic ingredients like turmeric and chilli and finished off wwith freshly grated coconut that takes this dish to its delicious level. Mostlly had as a side to rice.
PS: Made in a Le Creuset shallow casserole.

Coconut oil- 2 tbsp
Mustard seeds- 1/2 tsp
Dried red chillies- 2
Curry leaves- a sprig
Shallots- 1/2 cup
Ginger- 1 tsp, grated
Garlic- 1 tsp, grated
Green chilli- 1, slit
Red chilli powder- 1/2 tsp
Turmeric powder- 1/4 tsp
Meat masala- 1 tsp
Ground pepper- 1/2 tsp
Garam masala- 1/4 tsp
Salt- to taste
Canned tuna- around 250 gms (2 cans), drained
Grated coconut- 1/4 cup

Heat oil in you frying pan and add the mustard seeds.
Once they splutter add the red chillies and curry leaves, stir for a second and then throw in the shallots.
As soon as the shallots become slightly brown, add the green chilli, grated ginger and garlic and continue to cook till it no longer tastes raw. 
Add all the masala powders and salt to taste and stir it all together and cook till no longer raw.
Stir in the tuna and cook on medium heat for about 5 to 6 minutes.
If it becomes too dry, mix in a spoon or two of water.
Finally add the grated coconut and cook for a further 3 to 4 minutes, just to get the flavors in.
Turn off the heat, close with a lid and keep aside for 5 minutes.
Serve as a side to rice, roti or even as a sandwich filling (its great with mayo).

Thursday, 7 April 2016

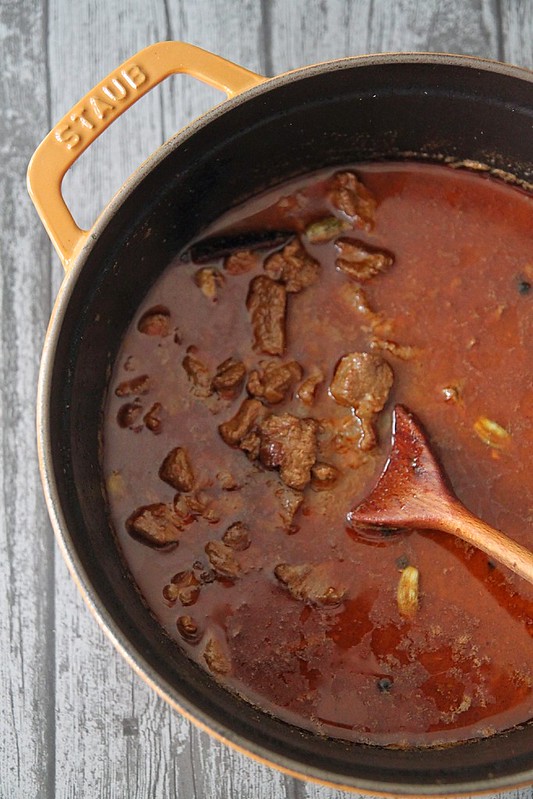
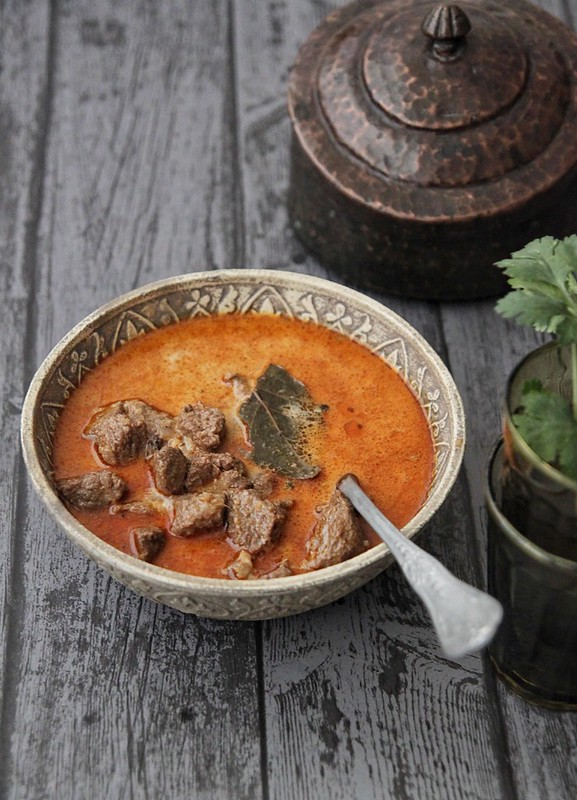
Beef rogan josh in a Staub Cocotte

IMG_9610 
Ever since we moved into our new house we've been talking of banishing our non stick Teflon pans and going all cast iron or stainless steel. We have been eliminating them bit by bit and the transition has been a bit of a challenge but i think its working and I'm slowly getting used to it.

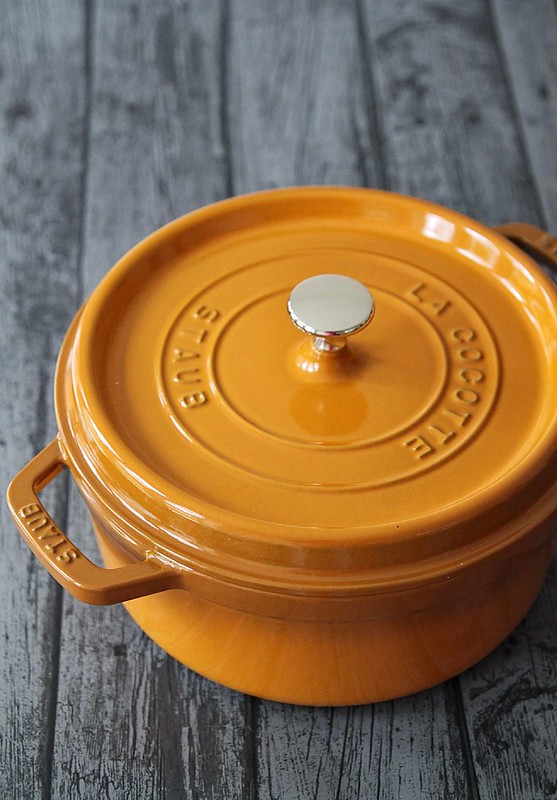
My first cast iron cooking experience was with this gorgeous Staub 24cm Cocotte, the lovely people over at Zwilling UK sent over. I have been thoroughly enjoying my time with it, or rather getting used to cooking with it and I'm very happy to have it as part of my new kitchen. If like me you do like a bit of colour, then look no further because Staub Cocottes come in a range of colours from cinnamon to basil to cherry red to graphite grey. etc Those who know me, also know my obsession with the colour yellow so no surprises there when i opted for the mustard colour Cocotte. It arrived promptly on time and i got cooking with it the very same day. 
IMG_9563 (1)
One thing i had to get used to was the weight of the cast iron pot. Having dealt with light weight thin stainless steel pots and such, the weight of the cast iron pot was a bit of a shock in the beginning, but i soon got the hang of it especially once i realised how the weight works to your favour while cooking. It also retains heat really well which also helps with cooking food evenly. I also noticed that all the dishes i made in the Staub cocotte was done at a much lower temperature than i usually do. For example, if i was cooking previously on the heat mark 7 on my ceramic hob, with the Staub i was doing it on heat mark 4, sometimes even reducing it down to 3 because of the heat retention and things like onions and garlic getting burnt. I agree it does take a while to get used and I'm still experimenting with what heat settings work well for what. The point is, energy consumption has reduced drastically, and my husband who was sceptical about this whole cast iron cooking is now absolutely impressed and sold on the idea.

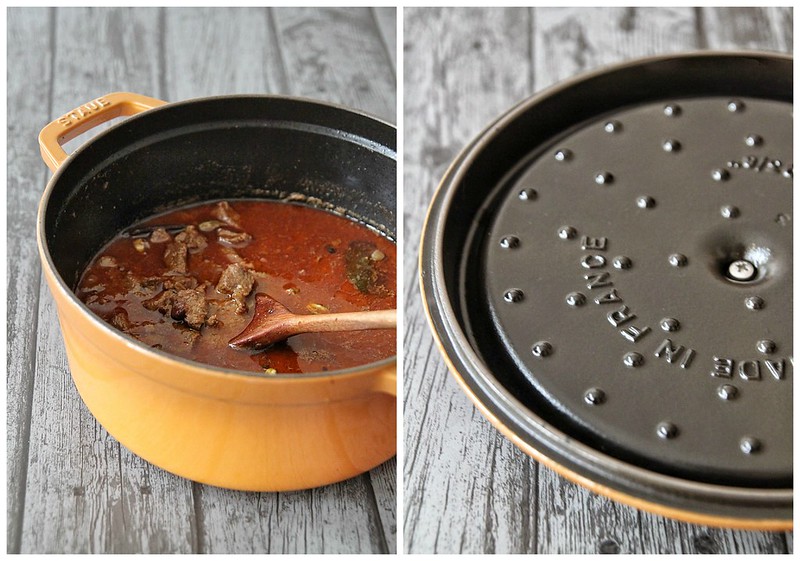
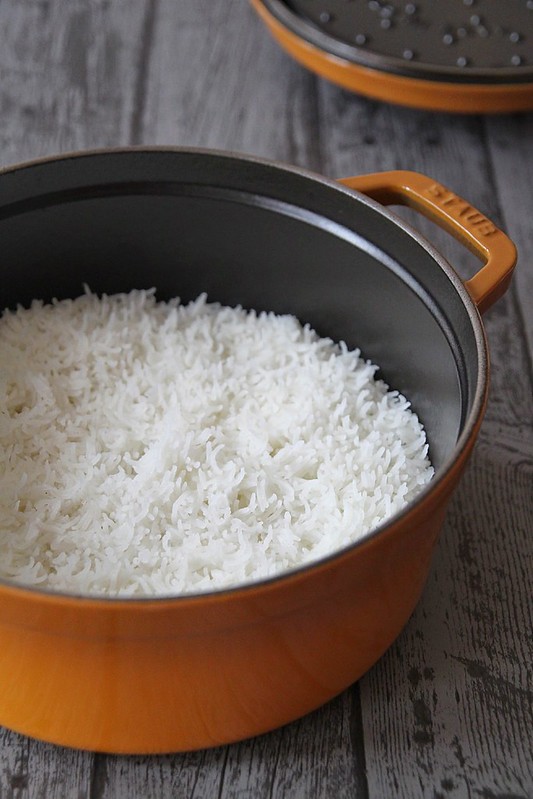
Another excellent feature about the Staub Cocotte is the heavy lid with small spikes on them which act as a natural baster. The water drops back into the pot keeping your meat moist and this to me is a great plus point. When i usually slow cook meat, i have to keep adding water every now and then to keep the meat moist and also to prevent the food from burning or sticking to the base because the water would evaporate quite quickly. This i think is my most favourite feature from Staub, the really heavy lid and the special drip structure makes sure no moisture escapes and whatever gets collected gets poured back into the pot. I loved how my rogan josh didn't need any refilling through the entire cooking process and also how my rice was cooked perfectly well without moisture escaping, and without going through all that drama of covering the lid with a cloth or paper towel.
PicMonkeynn Collage
When i made the rice, i was pretty sure it would stick to the bottom, but was pleasantly surprised it didn't. The enamel coating even though not completely non stick works to a great extent when it comes to cooking and cleaning, and even if it does stick a bit to the base, a bit of a soak easily removes it all. I have to try a biryani in the pot to see how the whole 'dum' aspect works, but before that i need to familiarise myself with the cast iron pot a bit more.

The only negative thing, well i cant quite call it negative really, is that the entire pot and lid becomes really hot while cooking. If you hold on to your pot while stirring and mixing, this becomes a bit uncomfortable. I managed to burn my hand twice, even after using a cloth but, this again is something i need to get used to, and nothing a pot holder cant solve. It however, doesn't affect the performance of the pot at all. Then there is of course the price which, lets be honest, is steep. When i was thinking of investing in a cast iron pan, i did a lot of research on various products in the market. and Staub definitely stood out. It is one of the best out there so think of it as an investment that would last you forever, and put it on your birthday gift list.

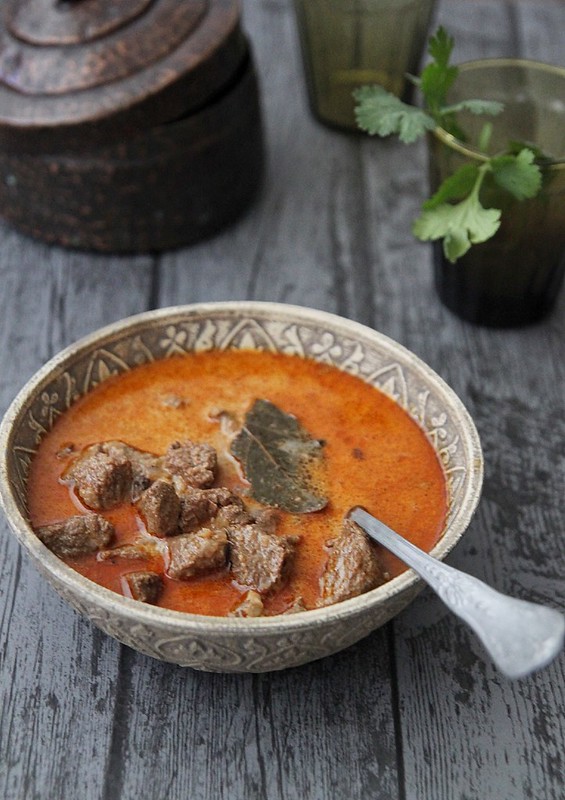
Coming to the recipe, I made a mutton rogan josh last year and it differs from this one quite a bit. I would like to think that is definitely the more authentic recipe and this one by Madhur Jaffrey is a bit more Anglicised, if i may call it that. But it works, its absolutely flavourful and we've been making it for years now. 

Recipe adapted from here (serves 4 as part of main)
IMG_9598
Ginger- 5cm piece, peeled
Garlic- 8 to 9 cloves, peeled
Oil- 4 tbsp
Beef- 700 gms (cut into 2 cm cubes)
Cinnamon sticks- 2 cm
Cardamom- 6 pods
Cloves- 6 pods
Bay leaf- 1
Whole peppercorns- 10
Onions- 200 gms, peeled and finely chopped
Coriander powder- 1 heaped tsp
Cumin powder- 1 1/2 tsp
Kashmiri chilli powder- 2 tsp
Spicy chilli powder- 1 tsp (adjust according to heat)
Salt- to taste
Yoghurt- 6 tbsp
Warm water- 400ml
Garam masala- 1/2 tsp
IMG_9553
Grind together the ginger and garlic with 2 tbsp water to make a fine paste.
Heat 2 tbsp oil in a deep thick bottomed pot and on medium-high heat sear the beef cubes in batches till they are all brown. Transfer to a plate.
Reduce heat to medium, add the remaining oil into the pot and throw in all the whole spices- cinnamon, cardamom, cloves, bay leaf and peppercorns - and saute till they are fragrant for about 10 seconds, take care not to burn them.
Follow with onions and saute them for about 5 to 10 minutes or till they turn brown.
Tip in the ginger garlic paste and continue to fry till the raw smell goes
Add all the spice powders one after the other along with salt, and cook for about 5 seconds, just to remove the raw smell. If you think the mix is sticking to the pan and has a chance of burning, add in a tbsp or two of water with the spices and cook till you can no longer smell the raw masala.
In goes the fried meat along with all the juices. Mix well so all the masala gets coated on the meat.
Add the yoghurt one spoon at a time, and stirring it into the meat mix after each addition.
Pour in 400 ml warm water and bring to a boil, scraping the sides of the pot.
Cover with a heavy lid, reduce heat to the lowest and cook for about an hour or until the meat is tender. 
Keep checking in between to see if the water has reduced, and if the meat is sticking to the bottom add some more water, stir well and continue cooking closed.
Open the lid, check if the meat is cooked, add more salt if required, and if you can see a thin layer of oil on top, that's sign of a good rogan josh i believe. 
If you do think there is too much liquid, increase heat and let the curry boil away some of the liquid.
Just before serving stir in the garam masala and serve hot with some steamed rice.
IMG_9574
Notes: Instead of cooking this on the hob top, you can finish off the curry in the oven at 180C for about 1-1.30 hrs. Just make sure you stir it every 10 minutes or so and check for liquid levels. My Staub Cocotte would do a perfect job for this as you wouldn't need to transfer it into another oven proof dish but can directly move this from the hob to oven.
You can make the same dish with mutton/goat/lamb as well. Cooking times may slightly vary though.
Over the years I've made my own changes to it. I add a generous dash of cream just after i put the garam masala, making this quite irresistible.

With thanks to Zwilling UK for the Staub Cocotte that was sent to me. All opinions are my own and no monetary compensation was offered in return for a positive review.