
Clearly summer is over, like seriously over! Its been raining non-stop since yesterday and I've thoroughly enjoyed staying indoors, snuggling up on the sofa watching brainless sitcoms back to back. We are off to Devon day after and i have so much to do, so I'm not quite enjoying the wet and windy day today.
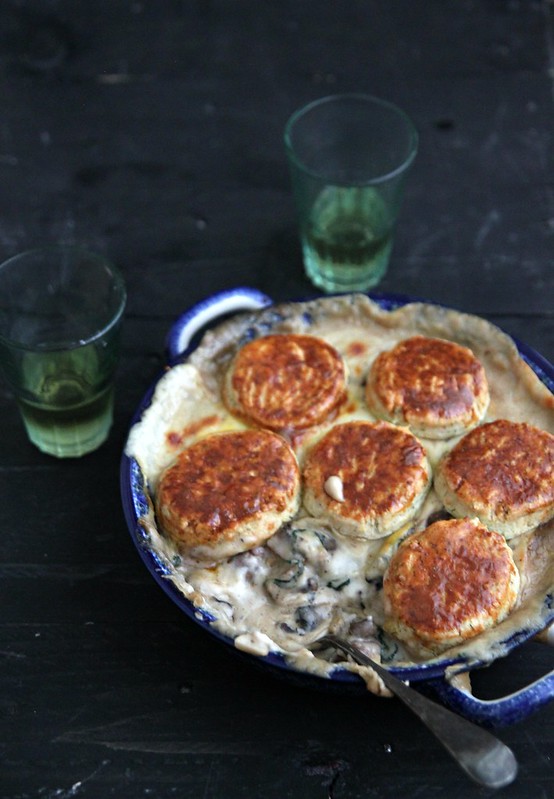
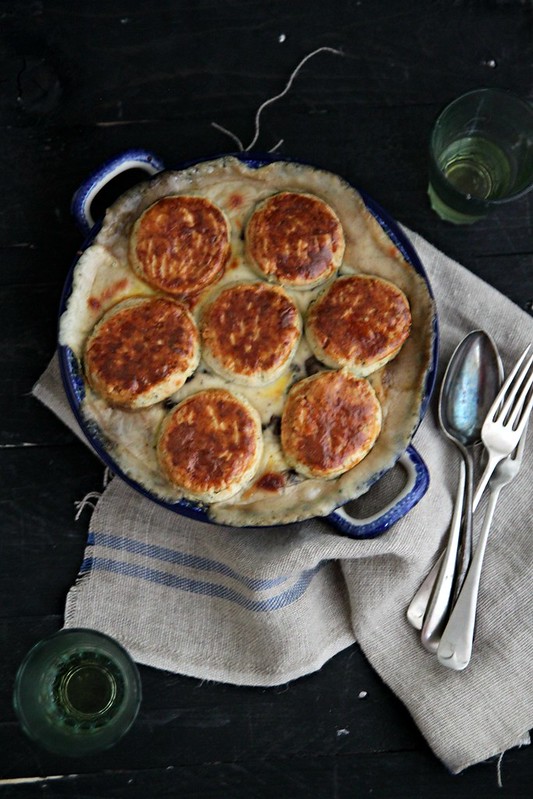
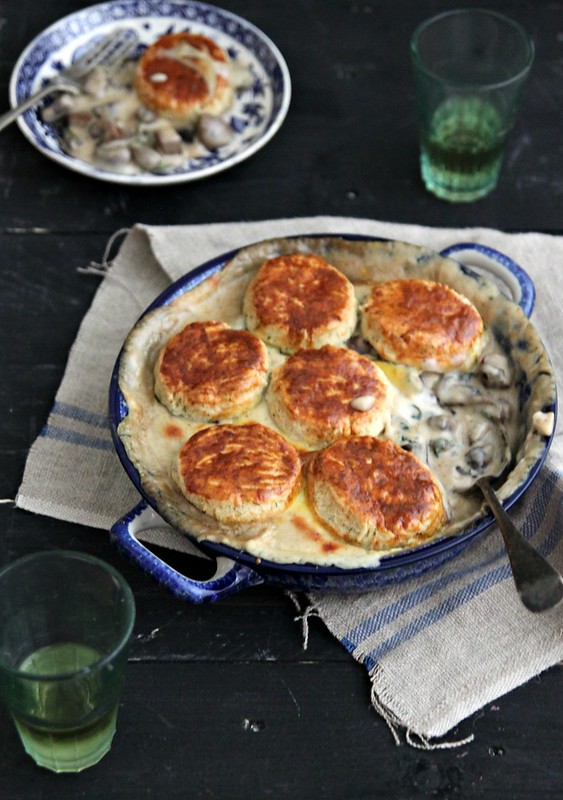
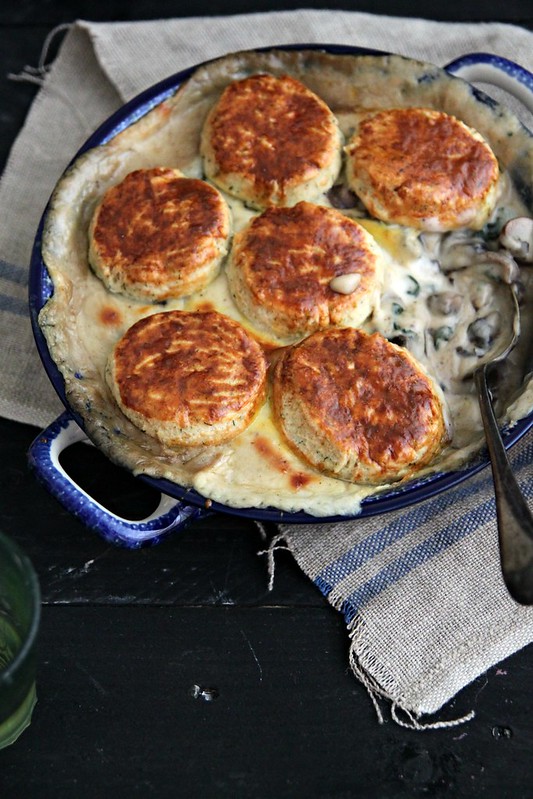
Chilly days like these call for warm bakes and crusty bread. So i got around to making this tasty mushroom cobbler by Marcus Wareing, a first for me actually. I have never tried making a cobbler before- a fruit one especially- and was pleasantly surprised at how nice this tasted. The scone was so flavourful and the perfect topping for the creamy mushroom mix. It does take a bit of time, but hey nothing tasty comes easy right? I had the privilege of meeting Marcus Wareing in person and visiting his signature brasserie Gilbert Scott last year. The place is fab and I'm glad i picked this recipe which is straight off his menu at Gilbert Scott.
Great British Chefs has this amazing array of summer recipes, contributed by the experts in the field and i had a tough time choosing one. My first choice was the hokey pokey ice cream, but the husband definitely thought it wasn't ice cream weather. Second choice was the cobbler, closely followed by the new potato salad with bacon and broad beans (which I'm sooo making soon). I'm entering this post for the GBC Summertime Bloggers challenge and even though summer may be over, there is no harm in embracing the summer bounty that's still in abundance. Crossing my fingers. Wish me luck.
Recipe halved (serves 2)
 Scone topping
Plain flour- 87 gms
Baking powder 1 1/2 tsp
Cheddar cheese- 15 gms, grated
Dill- 1/2 tsp, finely chopped
Salt & pepper- to taste
Butter- 50gms, at room temperature
Ice cold water- approx. 1 tbsp
Egg white- for egg wash
Cheese sauce
Milk- 300ml
Bay leaf- 1
Cloves- 2
Thyme leaves- a small sprig
Flour- 20 gms
Cheddar cheese- 25 gms, grated
Ground nutmeg- a pinch
Salt & pepper- to taste
Mushroom filling
Oil- 1 tbsp
Chestnut mushrooms- 250 gms, quartered
Flat mushrooms- 250 gms, chopped into chunks (same size as that of the chopped chestnut mushrooms)
Garlic- 5 pods, crushed
Bacon bits- 5 rashers (optional)
Salt & pepper- to taste
 First get the scones ready.
Mix together the flour, baking powder, cheese, dill, salt and pepper in a mixing bowl.
Grate in the butter (i thought this was a really cool idea, to grate in the butter, especially if you have forgotten to take it out to bring to room temperature) and mix gently with your hands to resemble coarse breadcrumbs.
Pour in the water, a bit at a time, if you are doubtful, and bring the whole mix together to form a dough.
Don't over work this mix, or else the scone becomes tough.
Keep covered in the refrigerator for at least 2 hours.
While the dough is resting get the cheese sauce going.
Mix together the milk, bay leaf, cloves, thyme leaves and shallot shallot in a saucepan, infuse over medium heat and bring to a simmer.
At this point remove from heat and leave aside to infuse for about 20 to 30 minutes (or however long you'd take to prepare the mushroom filling)
Fry the bacon in a saucepan till crisp.
Drain on paper towels and chop into small pieces.
 Heat oil in a large frying pan and throw in all the mushrooms.
Season with paprika (if using), salt and pepper and stir fry on medium heat till it changes colour.
Throw in the spinach followed by garlic and continue frying till the spinach has wilted, the mushroom is cooked and all the water is absorbed.
Transfer to a baking dish.
Also stir in the bacon bits into the mushroom-spinach mix.
Preheat the oven to 180C at this point and get back to the cheese sauce.
Strain the infused milk into a cup and use the same saucepan to complete the sauce.
Melt the butter and add the flour.
Stir with a wooden ladle and cook the roux for about 5 minutes on low heat.
Add the infused milk, bit by bit, into the roux and whisk well to avoid lumps.
Increase the heat to medium-high and simmer for about 10 minutes, to cook the roux.
Add the cheese, season with salt and pepper and nutmeg. Stir it all in.
Pour over the spinach mix. Keep warm.
Take the scone dough out of the fridge and give a nice knead.
Lightly flour your work surface and roll out the dough to 1 cm thickness.
Cut into 7 disks using a 3cm diameter ring and place on top of the mushroom mix .
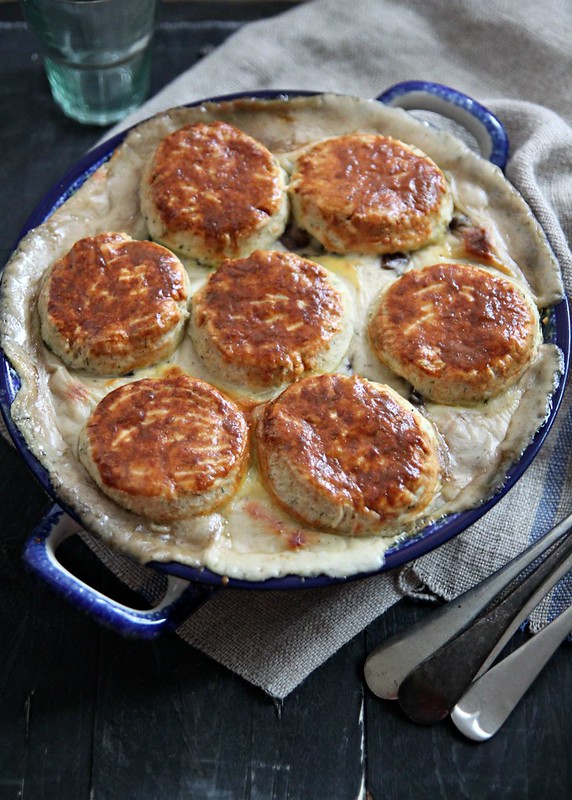
Brush the scones with egg wash and bake the cobbler in the middle shelf of the oven for about 25 minutes or till the scones turn golden brown and the mixture bubbles.
serve with some crusty bread.
 Notes: You can roll out and cut the scones a day or so ahead and freeze them till ready to use.
Original recipe called for oyster mushrooms, i didn't have any, but certainly use them if you can.
I had to desperately use up some bacon and hence added that. Of course you can add chicken, beef or pancetta to the mix to make it a more heavy meal.
If you are using self raising flour for the scones, then reduce the baking powder to 1/2 tsp.
I did add/ omit some ingredients from the original recipe, just to suit our taste.
Plain flour- 87 gms
Baking powder 1 1/2 tsp
Cheddar cheese- 15 gms, grated
Dill- 1/2 tsp, finely chopped
Salt & pepper- to taste
Butter- 50gms, at room temperature
Ice cold water- approx. 1 tbsp
Egg white- for egg wash
Cheese sauce
Milk- 300ml
Bay leaf- 1
Cloves- 2
Thyme leaves- a small sprig
Shallot- 1 small, finely chopped
Butter- 20gmsFlour- 20 gms
Cheddar cheese- 25 gms, grated
Ground nutmeg- a pinch
Salt & pepper- to taste
Mushroom filling
Oil- 1 tbsp
Chestnut mushrooms- 250 gms, quartered
Flat mushrooms- 250 gms, chopped into chunks (same size as that of the chopped chestnut mushrooms)
Paprika- 1/2 tsp (optional)
Baby spinach- 100 gmsGarlic- 5 pods, crushed
Bacon bits- 5 rashers (optional)
Salt & pepper- to taste
Mix together the flour, baking powder, cheese, dill, salt and pepper in a mixing bowl.
Grate in the butter (i thought this was a really cool idea, to grate in the butter, especially if you have forgotten to take it out to bring to room temperature) and mix gently with your hands to resemble coarse breadcrumbs.
Pour in the water, a bit at a time, if you are doubtful, and bring the whole mix together to form a dough.
Don't over work this mix, or else the scone becomes tough.
Keep covered in the refrigerator for at least 2 hours.
While the dough is resting get the cheese sauce going.
Mix together the milk, bay leaf, cloves, thyme leaves and shallot shallot in a saucepan, infuse over medium heat and bring to a simmer.
At this point remove from heat and leave aside to infuse for about 20 to 30 minutes (or however long you'd take to prepare the mushroom filling)
Fry the bacon in a saucepan till crisp.
Drain on paper towels and chop into small pieces.
Season with paprika (if using), salt and pepper and stir fry on medium heat till it changes colour.
Throw in the spinach followed by garlic and continue frying till the spinach has wilted, the mushroom is cooked and all the water is absorbed.
Transfer to a baking dish.
Also stir in the bacon bits into the mushroom-spinach mix.
Preheat the oven to 180C at this point and get back to the cheese sauce.
Strain the infused milk into a cup and use the same saucepan to complete the sauce.
Melt the butter and add the flour.
Stir with a wooden ladle and cook the roux for about 5 minutes on low heat.
Add the infused milk, bit by bit, into the roux and whisk well to avoid lumps.
Increase the heat to medium-high and simmer for about 10 minutes, to cook the roux.
Add the cheese, season with salt and pepper and nutmeg. Stir it all in.
Pour over the spinach mix. Keep warm.
Take the scone dough out of the fridge and give a nice knead.
Lightly flour your work surface and roll out the dough to 1 cm thickness.
Cut into 7 disks using a 3cm diameter ring and place on top of the mushroom mix .
Brush the scones with egg wash and bake the cobbler in the middle shelf of the oven for about 25 minutes or till the scones turn golden brown and the mixture bubbles.
serve with some crusty bread.
Original recipe called for oyster mushrooms, i didn't have any, but certainly use them if you can.
I had to desperately use up some bacon and hence added that. Of course you can add chicken, beef or pancetta to the mix to make it a more heavy meal.
If you are using self raising flour for the scones, then reduce the baking powder to 1/2 tsp.
I did add/ omit some ingredients from the original recipe, just to suit our taste.


