A bunch of us here have a tradition of making home made gifts for Christmas. Just for the fun factor, we all slog it out for weeks and come up with DIY gifts that for me are much more personal than buying something from the stores. Last year i gifted everyone this home made lemon extract and sweet and salty crunchie bars. This year, I thought I'd go completely off food and do something different. Needless to say, hours were spent on pinterest, Etsy and the like for some motivation and finally i decided on doing vintage home made candles.
I have been obsessed with candles for the longest time. There used to a time back in India when i had candles strewn all over my apartment but when there was a power cut I wouldn't let Ro light even one of those (because they were really too pretty to waste at a power cut). It was a joke my husband loved telling everyone. Grown out of all that, now i use scented candles more to smoothen the cooking smell and such.
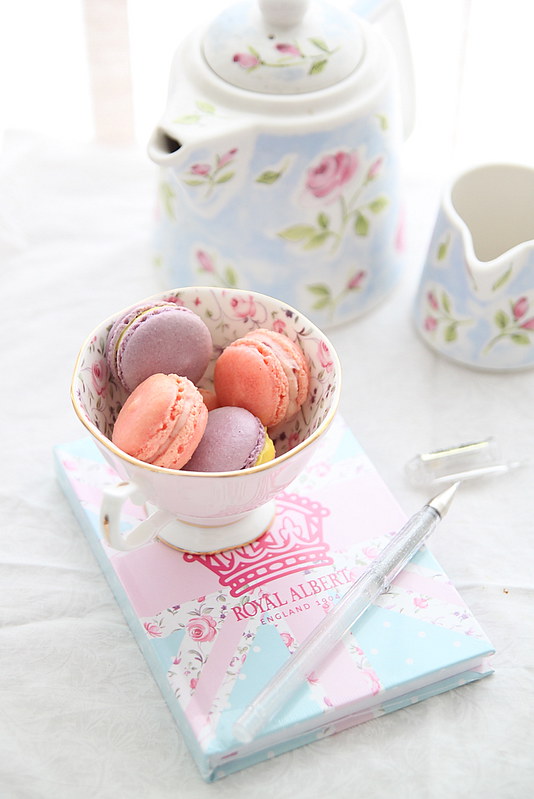
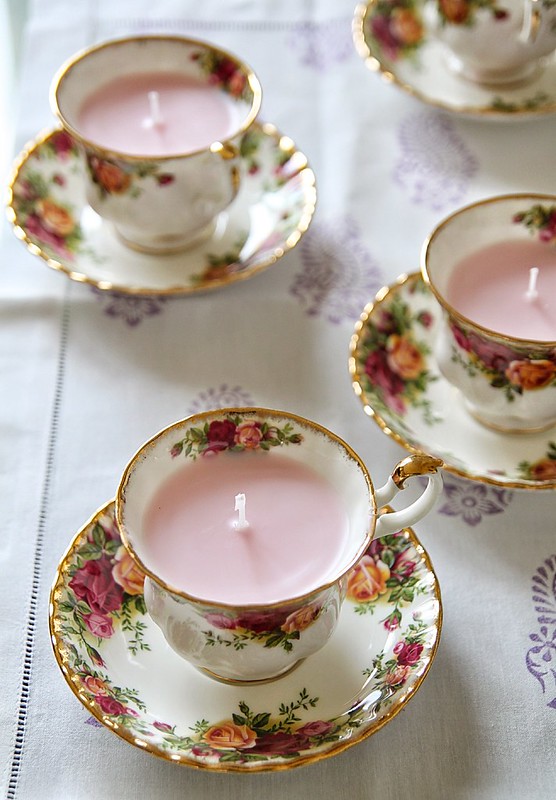
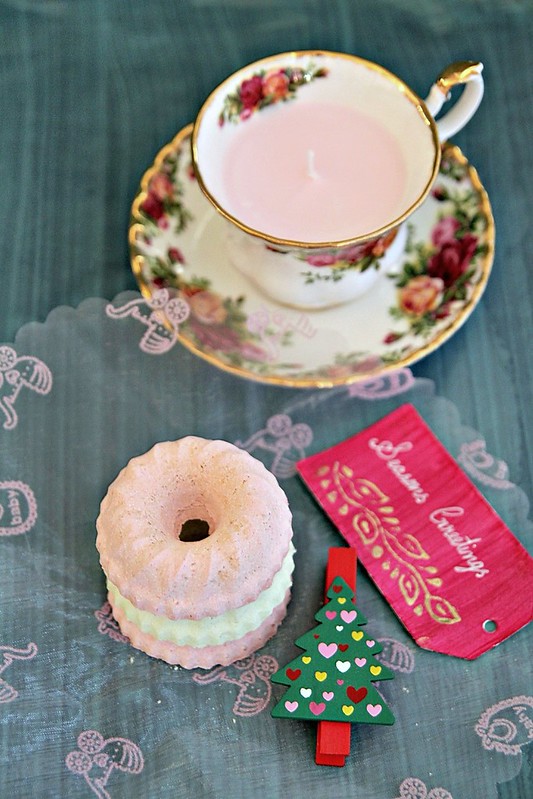 I had chanced upon candles in vintage tea cups long back and since i had trawled Ebay for English tea cups for our chaiparty (more on this later), i knew what my options were. So making a decision to gift those came easily. Now, of course i couldn't gift just a candle, so again pinteresting started and i decided to gift a sa pack for my friends this year. the pack would have the scented vintage tea cup candle and an assortment of scented fizzy bath bombs, for that relaxed night in.
They were both really really easy to put together and I was rather proud of how organized I was this time, ordering everything online and finishing it all off way ahead of time. The cost is also very minimal because you are putting these together yourself, and for me it was the creative part of it that was most fun.
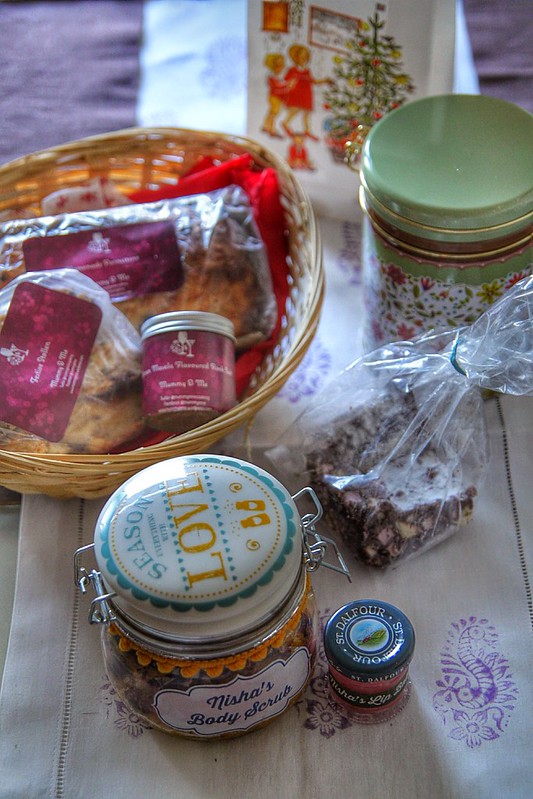
My lovely friends gifted me so cool stuff as well. Vineetha made delicious rocky roads and presented them in a beautiful vintage tin, Gayathri went all out and made a hamper with Christmas classics like mulling syrup, stollen, panettone, salted caramel and garam masala sea salt and Suchi did a spa pack with personalised body scrub and lip balm, full on with our name tags and such. Not to mention, her packaging was spot on. I love this tradition of ours and am so glad I have a small group of friends who share the same interests. We exchanged these gifts over a lovely brunch in Covent Garden followed by some shopping.
Scented candles in vintage tea cups (makes 4)
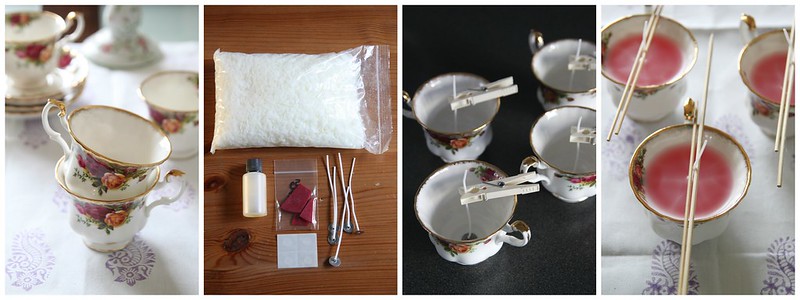
Candle wicks- 4, waxed and preferably with sustainers
Wooden skewers- 8, to hold the wicks in place
Heat proof bowl- 1
Saucepan
Cup with spout (if its heat proof then use that for the wax as well, in which case the cup is not required)
Eco friendly soy wax- 500 gms
Wax dye- 2 gms (I used baby pink. For a darker shade add more)
Fragrance oil- 1 tsp, or according to preference (I used one called Woodland Rose)
Before getting on with the process make sure you have set up the containers with wicks etc.
I first tried to keep the wicks in place with a clothes peg balanced on the rim, but when i poured in the wax, with the slightest movement they changed position.
So I placed two skewers on either side of the wick to keep it in place (as in picture).
(small sticker dots to stick the wick came with the kit but the moment the hot wax hit it, it just melted and came off. i have no clue what the purpose of this thing was)
 Once the mis en place is intact, heat enough water in a saucepan to come about half way up and bring to a simmer.
Place the wax in the heat proof bowl (cut them up into smaller pieces if they are in a block, to allow easy and even melting) along with the wax dye and let it slowly melt.
Once the mis en place is intact, heat enough water in a saucepan to come about half way up and bring to a simmer.
Place the wax in the heat proof bowl (cut them up into smaller pieces if they are in a block, to allow easy and even melting) along with the wax dye and let it slowly melt.
Use a long wooden skewer to stir in between if needed.
Once the wax has completely melted, take it off bain marie and keep aside to cool a bit.
Pour in the fragrance oil at this point, stir with the skewer and slowly pour into the cups till about 3/4th full.
If the wicks have moved a bit, don't worry, just readjust. The wax is not going to set immediately.
Also, rinse out your utensils quickly.
Don't move the candles until its completely set. If there is a bit of sinking in the centre, just warm some more wax and fill it up.
Light the candles only after 24hrs.
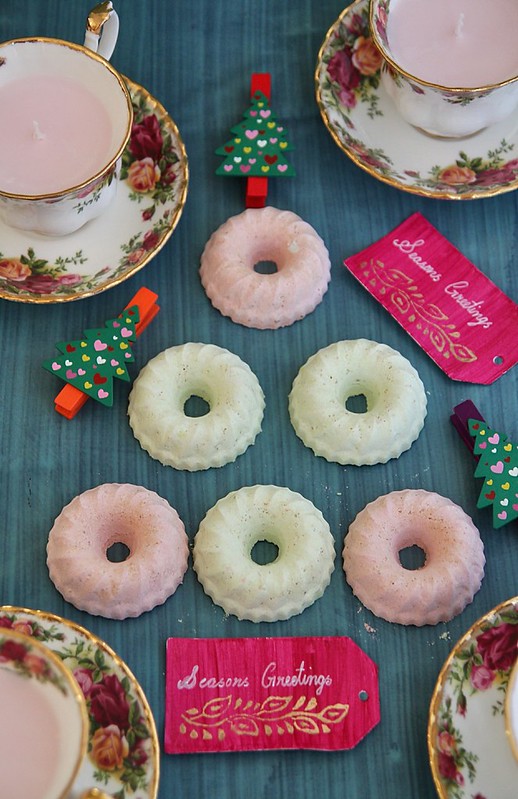
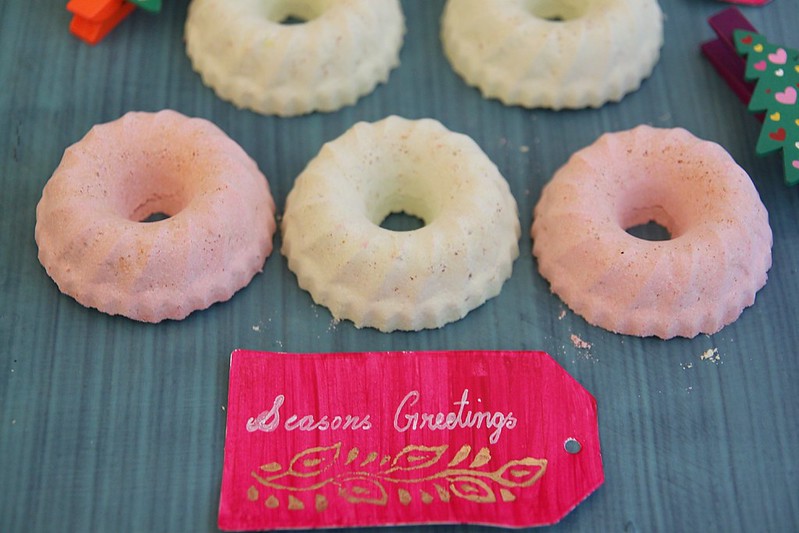
Scented fizzy bath bombs (makes 12- adapted from here)
 Bowls- 3, large
Measuring cup
Bowls- 3, large
Measuring cup
Mixing spoon
Mould- I used my muffin tin
Baking soda- 1 cup
Corn flour- 3/4th cup
Epsom salt- 1/4 cup
Citric acid- 1/2 cup
Food colour - 3 different colours (I used baby blue, kiwi green and pink)
Fragrance oils- 3 different ones (blue- winter spice, Green- Christmas pine, Pink- Woodland rose)
Water- as needed
 Mix together the baking soda, corn flour, Epsom salt and citric acid in a bowl.
Divide it among 3 bowls, around 3/4th cup in each bowl.
Add the colours and fragrance oil into each and starting with one, sprinkle water into the mix bit by bit and mix with a spoon or with your hands if that's more convenient.
Watch it fizz, but make sure you only sprinkle water and not pour water into it or else you'd have a lot of cleaning up to do.
Add enough water to get the mix together. Take a fist full of the mix and press hard and if they hold the shape then you are good to go. If now, add some more water and get the desired consistency.
Pack the mix tightly into the muffin pan and keep aside for about 24 hrs before you turn it over and tap the bath bombs out of the tin.
Store them in air tight containers till ready to use of pack them immediately if gifting.
To use, fill a bath with water and thrown the bomb into it. Watch it fizz, change the colour of the water, enjoy the aroma and have a relaxing bath.
The baking soda and citric acid makes it fizz and the addition of Epsom salt acts as a muscle relaxant
Wax dye- 2 gms (I used baby pink. For a darker shade add more)
Fragrance oil- 1 tsp, or according to preference (I used one called Woodland Rose)
Before getting on with the process make sure you have set up the containers with wicks etc.
I first tried to keep the wicks in place with a clothes peg balanced on the rim, but when i poured in the wax, with the slightest movement they changed position.
So I placed two skewers on either side of the wick to keep it in place (as in picture).
(small sticker dots to stick the wick came with the kit but the moment the hot wax hit it, it just melted and came off. i have no clue what the purpose of this thing was)
Once the mis en place is intact, heat enough water in a saucepan to come about half way up and bring to a simmer.Use a long wooden skewer to stir in between if needed.
Once the wax has completely melted, take it off bain marie and keep aside to cool a bit.
Pour in the fragrance oil at this point, stir with the skewer and slowly pour into the cups till about 3/4th full.
If the wicks have moved a bit, don't worry, just readjust. The wax is not going to set immediately.
Also, rinse out your utensils quickly.
Don't move the candles until its completely set. If there is a bit of sinking in the centre, just warm some more wax and fill it up.
Light the candles only after 24hrs.
Scented fizzy bath bombs (makes 12- adapted from here)
Bowls- 3, largeMixing spoon
Mould- I used my muffin tin
Baking soda- 1 cup
Corn flour- 3/4th cup
Epsom salt- 1/4 cup
Citric acid- 1/2 cup
Food colour - 3 different colours (I used baby blue, kiwi green and pink)
Fragrance oils- 3 different ones (blue- winter spice, Green- Christmas pine, Pink- Woodland rose)
Water- as needed
Divide it among 3 bowls, around 3/4th cup in each bowl.
Add the colours and fragrance oil into each and starting with one, sprinkle water into the mix bit by bit and mix with a spoon or with your hands if that's more convenient.
Watch it fizz, but make sure you only sprinkle water and not pour water into it or else you'd have a lot of cleaning up to do.
Add enough water to get the mix together. Take a fist full of the mix and press hard and if they hold the shape then you are good to go. If now, add some more water and get the desired consistency.
Pack the mix tightly into the muffin pan and keep aside for about 24 hrs before you turn it over and tap the bath bombs out of the tin.
Store them in air tight containers till ready to use of pack them immediately if gifting.
To use, fill a bath with water and thrown the bomb into it. Watch it fizz, change the colour of the water, enjoy the aroma and have a relaxing bath.
The baking soda and citric acid makes it fizz and the addition of Epsom salt acts as a muscle relaxant